Bild von unserem Modell generiert.
race day
Cycling Race Day Checklist: Bike, Kit, Sensors and Nutrition
A practical cycling race day checklist for avoiding bike, kit, sensor, nutrition and admin mistakes before the start.
Why race-day equipment failures happen
Most race-day equipment failures are not random. They are usually the final step in a chain that started earlier: a rushed bike wash, a new tire fitted late, a dead sensor battery ignored after training, or a kit bag packed from memory instead of from a repeatable system.
A good cycling race day checklist is more than a packing list. It is a decision-control tool. It removes low-value thinking from race morning, when your attention should be on the course, the wind, the start procedure, and how you want to spend your energy.
Arrive with the bike you meant to race, the kit you already trust, and no unresolved mechanical or admin issue taking up bandwidth.
Quick version: cycling race day checklist
Use this if you just need the actionable pass before a race. The detailed sections below explain the logic behind each item.
- Bike: bolts, axles, tires, wheels, drivetrain, brakes, bottle cages, computer mount
- Contact points: saddle, bars, pedals, cleats, shoes, helmet, eyewear
- Electronics: head unit, power meter, electronic shifting, heart rate strap, sensors, radar if used
- Data setup: correct bike profile, race screen, route or course, alerts, recording, power meter zero-offset if appropriate
- Kit: race clothing, weather layers, gloves, socks, number pins or adhesive system
- Nutrition: pre-start fuel, bottles, race food, backup fuel, post-race recovery
- Spares: tube or tubeless repair, inflation, multi-tool, quick link, tire lever, event-specific extras
- Admin: license, registration, start time, staging area, number placement, timing chip, organiser rules
- Final check: tire pressure, shifting, braking, sensor connection, nutrition placement, warm-up timing
The bike check: bolts, tires, drivetrain and brakes
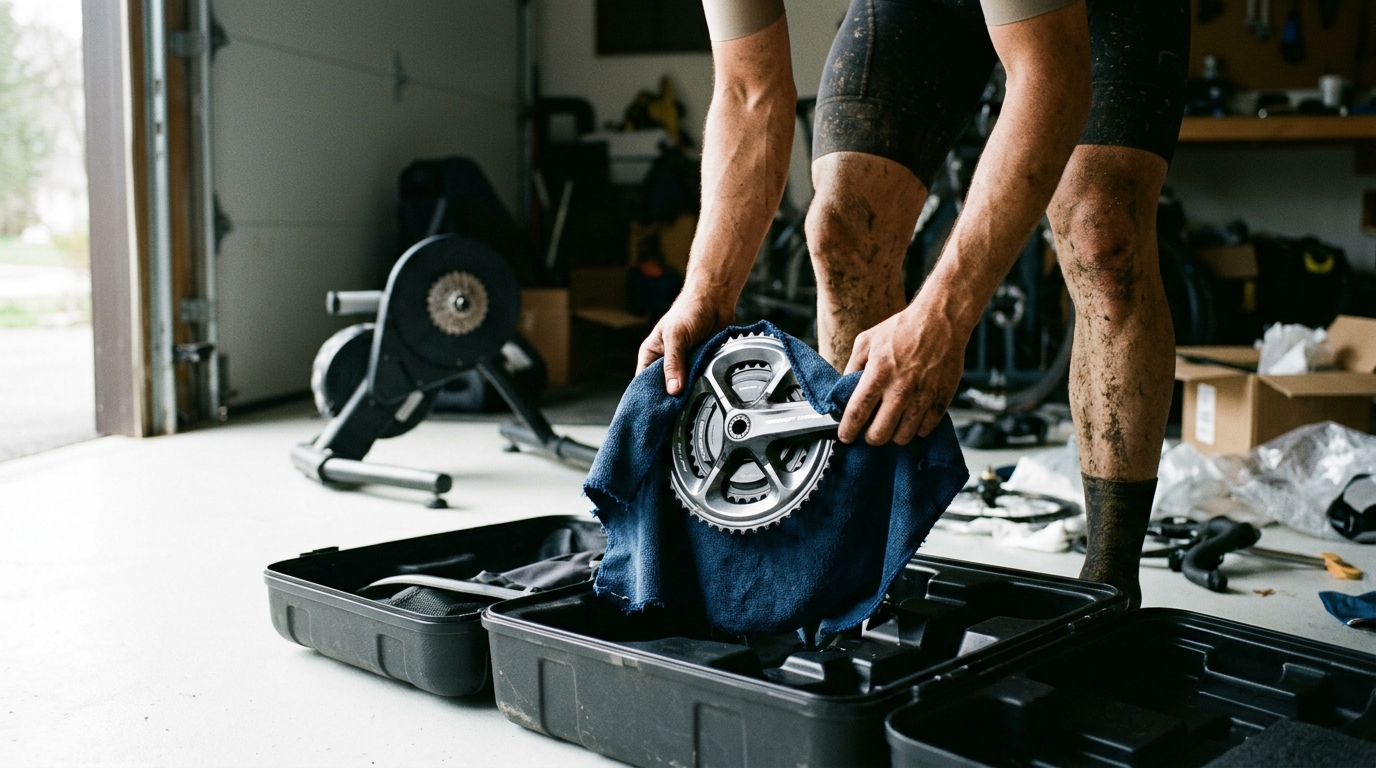
The bike should be race-ready before it goes in the car, on the roof, or into the travel case. The venue is for final confirmation, not for discovering that a cleat bolt is loose or a tire has been slowly leaking overnight.
Bolts and contact points
Start with the places where force enters the bike:
- Stem bolts
- Handlebar and shifter clamp bolts
- Seatpost and saddle clamp
- Pedals
- Cleats
- Bottle cages
- Computer mount
- Through axles or quick releases
Do not over-tighten everything out of nerves. Confirm nothing has moved, creaked loose, or been disturbed during travel. Use a torque wrench where required and avoid making a last-minute adjustment unless there is a real problem.
Anything recently changed deserves extra suspicion: a new saddle position, fresh cleats, swapped bars, different wheels, or a new computer mount. New equipment may be faster in theory, but it is less proven under your load, on your roads, and in your race routine.
Tires and wheels
Tires are one of the easiest places to lose a race before it starts. Check for cuts, embedded debris, sidewall damage, sealant weeping, valve issues, and wheel seating. Spin each wheel and look for brake rub, tire wobble, or anything that suggests the tire is not seated correctly.
Set pressure based on the tire, road surface, weather, and rider weight. Do it deliberately rather than defaulting to whatever felt normal in training. Wet roads, rough surfaces, and technical courses change the risk calculation. A slightly more conservative setup can be faster if it keeps the bike composed and reduces the chance of a mistake.
If you are using tubeless, check sealant status before race week. A tire that holds pressure in the garage still needs to be reliable once it is loaded, leaned, braked, and accelerated.
Drivetrain
A clean drivetrain is not just about marginal efficiency. It is about predictable shifting under stress. Shift through the full cassette, front chainrings if applicable, and the gear combinations you expect to use during the race.
Listen for hesitation under load during your warm-up. A drivetrain can pass a workstand check and still skip when you are pedaling hard, which is exactly when a small mechanical problem becomes a race problem.
Look at:
- Chain lubrication
- Chain wear if it has been neglected
- Rear derailleur alignment
- Front derailleur trim
- Battery status for electronic shifting
- Cassette lockring security
- Chainring bolts
For a broader pre-race service routine, use /guides/bike-maintenance rather than treating drivetrain checks as a race-morning afterthought.
Brakes
Brake problems rarely stay isolated. A rubbing rotor costs energy, a soft lever changes descending confidence, and a misaligned pad can make the bike feel wrong even if your legs are good.
Check brake lever feel, rotor clearance, pad wear, and wheel alignment. After travel, recheck the brakes before the warm-up because wheels and axles can settle differently once reinstalled.
If something rubs slightly but consistently, fix it properly or make a clear decision to race it. A small rub becomes more costly if it turns into a mental distraction every time the race eases.
Clothing and kit checks before you pin a number
A cycling pre race checklist should treat clothing as equipment. Kit affects aerodynamics, comfort, temperature control, and whether you can access nutrition when the race is moving.
Lay out the full race kit before packing:
- Jersey or skinsuit
- Bib shorts or race suit
- Base layer options
- Socks
- Gloves
- Shoes
- Helmet
- Eyewear and lenses
- Rain layer or gilet if relevant
- Arm warmers, knee warmers, or leg warmers if relevant
- Race license or required identification
- Number pins, adhesive number system, or organiser-supplied fixings
Pin the number with the riding position in mind. A number that looks tidy while standing can flap, fold, or pull once you are in the drops. That wastes attention and, in some events, can create identification problems.
Check pockets before leaving the house or accommodation. Many race-day mistakes happen because riders switch from a training jersey to a race jersey and forget that the pockets are now empty.
Shoes deserve their own pass. Confirm cleat bolts are tight, heel pads are secure, closures work, and any custom insoles or arch supports are actually in the shoes. If you use overshoes, test the shoe and pedal interface with them in place before the event.
Head unit, sensors and power meter readiness
Data is useful only if it is ready before the race starts. A head unit that is still searching for sensors while the bunch rolls away is not a data problem. It is a process problem.
Check:
- Head unit charge
- Power meter battery
- Electronic shifting batteries if used
- Heart rate strap, speed sensor, cadence sensor, and radar if used
- Correct bike profile
- Route or course file if needed
- Race screen layout
- Auto-pause, alerts, navigation, and recording settings
Your race screen should show the numbers you will actually use. For a road race, that might mean current power, lap power, time, distance, and heart rate. For a time trial, it might mean power, lap power, speed, cadence, and elapsed time.
If you are setting pacing targets before a time trial or a hard-start road race, /tools/ftp-estimator can help sanity-check the effort range before you decide what goes on the screen. Once the race starts, keep the display simple enough to read under pressure.
Calibrate or zero-offset the power meter according to the manufacturer process after the bike has settled into race conditions. This is not ritual. It prevents pacing decisions from being built on a bad baseline.
Also decide what you will do if data disappears. If the power meter fails, will you ride on perceived exertion, heart rate, speed, or known gear and cadence? Make that decision before the start, because solving it mid-race costs focus.
Nutrition, spares and weather-dependent items
Nutrition mistakes often look like fitness mistakes from the outside. The rider fades, misses the split, or loses concentration late, and the explanation becomes form. Sometimes that is true. Often, the simpler answer is that the fueling plan was poorly packed, poorly timed, or impossible to execute at race speed.
Pack nutrition by race phase rather than by item:
- Pre-start bottle and food
- Warm-up fuel
- Bottles for the race
- Pocket fuel for early, middle, and late race
- Backup fuel in case the start is delayed
- Recovery drink or food for after the finish
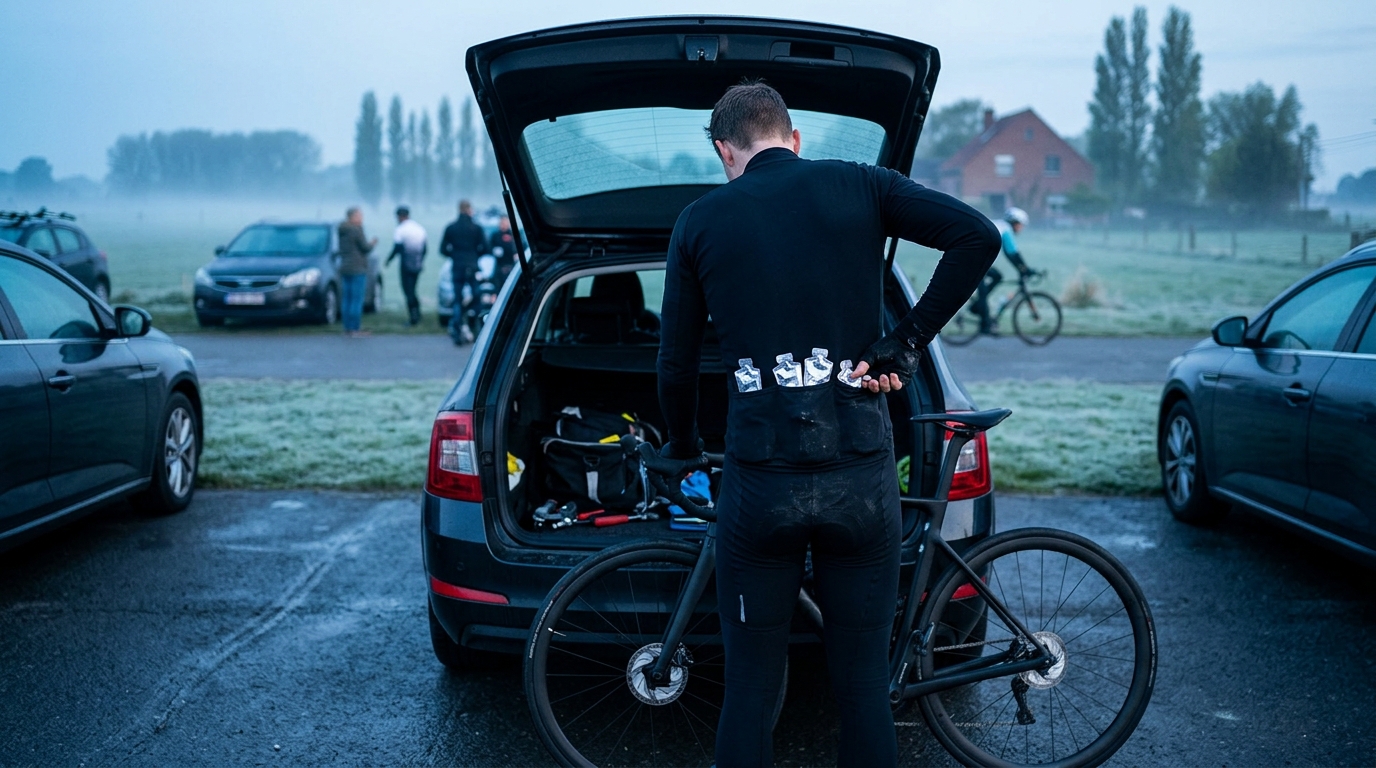
The key question is access. A gel you cannot reach in a technical race is not part of the plan. A bottle that is too tight in the cage can become a risk. Food packaging that requires both hands might be fine in training and useless in a crosswind or on a narrow road.
Spares depend on the event type, support level, and course, so the checklist should force a conscious decision. For some races you may carry very little. For others, especially unsupported events, you may need a more complete repair setup.
Common items to consider:
- Spare tube or tubeless repair tool
- Inflation option
- Tire lever
- Multi-tool
- Quick link
- Valve core tool if relevant
- Small chain tool if relevant
- Spare derailleur hanger for travel-heavy races
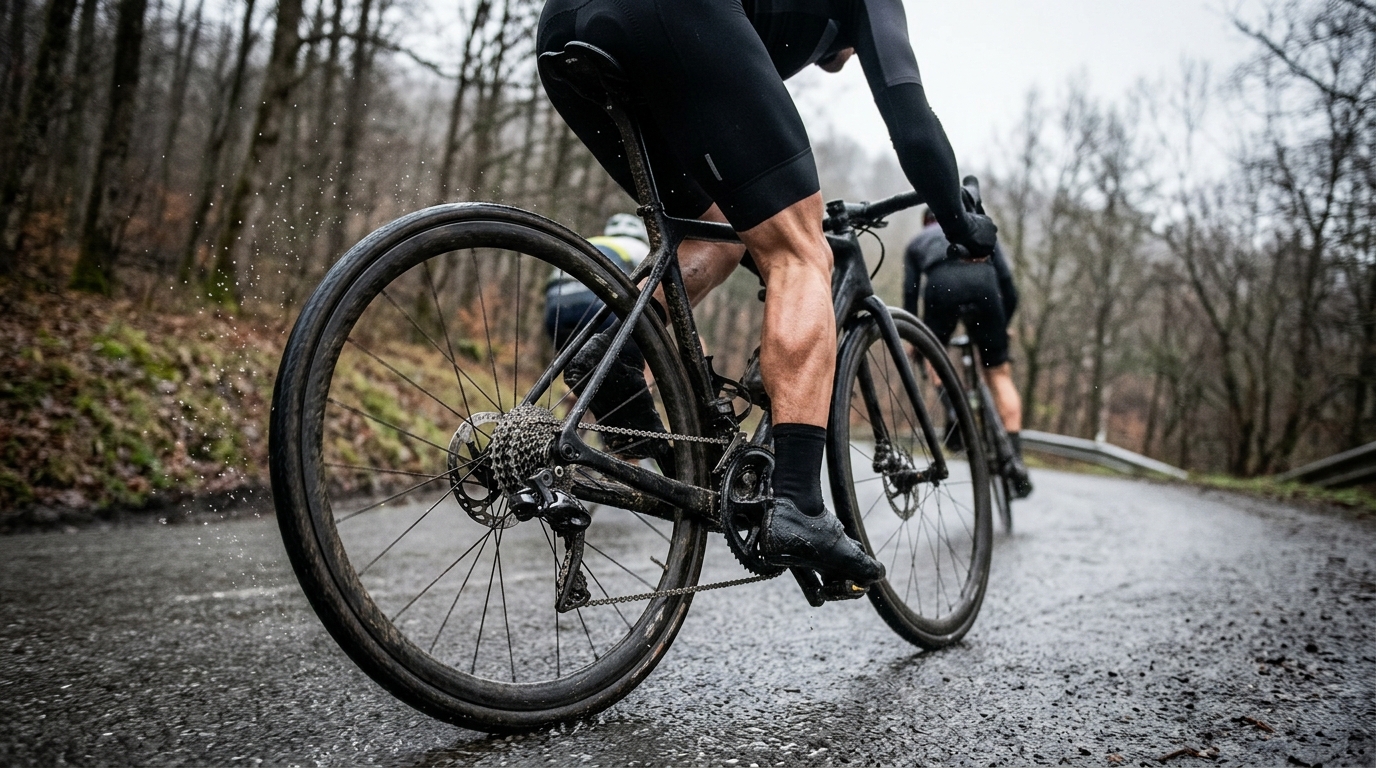
Weather items should be packed from the forecast but chosen from the course demands. Rain in a short, sheltered race is different from rain before a long descent. Heat in a crit is different from heat on an exposed road course. Weather affects grip, clothing, fluid needs, and warm-up timing, so it belongs in the checklist.
Extra checks for time trials and governed events
Time trials punish small process errors because the equipment is more specialized and the start procedure is less forgiving. A proper time trial bike check starts before leaving for the event.
Confirm:
- Extensions are secure
- Arm pads are fixed and positioned correctly
- Base bar and brake levers are secure
- Shifters function from the racing position
- Helmet visor or eyewear works in the aero position
- Race wheels are installed and braking is checked
- Head unit is visible without changing posture
- Bottles, storage, and spares do not interfere with position
Race the setup you verified. Do not change pad stack, saddle position, extension angle, or helmet choice on race morning unless the current setup is illegal, unsafe, or unrideable. A theoretically faster position that you cannot hold smoothly is not faster.
For governed events, treat UCI kit rules and organiser rules as preparation, not paperwork. Requirements can apply to the bike, position, clothing, helmets, numbers, transponders, and approved equipment. Because details depend on the event and governing body, check the specific race documents rather than relying on memory or another rider's advice.
If there is an official equipment check, arrive with margin and bring the bike exactly as you intend to start. For a time trial bike check, do not assume that passing a casual visual inspection is the same as being compliant. Make sure the setup is consistent, documented if needed, and not dependent on a last-minute interpretation.
Also check the small admin items that can become start-line problems:
- License or registration confirmation
- Timing chip or transponder
- Frame number and body number placement
- Start time and staging location
- Warm-up area rules
- Wheel pit or support rules if applicable
These items are not glamorous, but they shape the race. Missing a call-up, pinning a number incorrectly, or rushing through a commissaire check can raise stress before the effort has even begun.
Complete cycling race day checklist
Copy this master checklist into Notes, TrainingPeaks, Notion, or a printed race bag list. Keep it short enough that you will actually use it.
| Timing | Bike | Kit and nutrition | Electronics and admin |
|---|---|---|---|
| Several days before | Inspect tires, wheels, drivetrain, brakes, bolts, cleats | Choose race kit, weather options, bottles, fuel plan | Review rules, confirm registration, charge devices, check batteries |
| Day before | Install race wheels, check shifting, check brakes, confirm axles | Pack shoes, helmet, eyewear, gloves, layers, food, bottles, spares | Load course, pair sensors, set race screen, pack license and timing items |
| Race morning | Set tire pressure, recheck wheels, braking, shifting, bottle cages | Put fuel in correct pockets and cages, dress for warm-up and start | Zero-offset power meter if appropriate, confirm recording, number, chip, start time |
| Before leaving warm-up | Final brake feel, final shifting check, no rubbing | Remove unneeded layers, confirm pockets are accessible | Sensors connected, head unit recording, route ready if needed |
| After race | Note mechanical issues or rubs | Note unused, missing, or hard-to-access items | Note sensor, pacing, admin, or timing problems |
Copy-ready race bag list
- Bike ready: tires checked, drivetrain clean, brakes working, bolts and axles secure
- Wheels and tires: race wheels, inflation option, pressure plan, valve access
- Shoes and pedals: cleats tight, closures working, insoles fitted
- Kit: jersey or skinsuit, bibs or suit, socks, gloves, helmet, eyewear, weather layers
- Nutrition: pre-start fuel, warm-up fuel, race bottles, pocket food, backup fuel, recovery food
- Spares: tube or tubeless repair, tire lever, multi-tool, quick link, inflation, event-specific tools
- Electronics: head unit charged, sensors paired, power meter checked, shifting batteries checked
- Data: correct bike profile, course loaded if needed, race screen set, recording confirmed
- Admin: license, registration, number, pins or adhesive, timing chip, start time, staging location
- Final start check: tire pressure, shifting, brakes, nutrition access, number placement, warm-up timing
Build a reusable checklist for every race
A reusable checklist works because it separates thinking from execution. Refine the system after each race, then follow it before the next one.
Use a simple rhythm.
Several days before
- Inspect tires, drivetrain, brakes, and bolts
- Charge electronics
- Confirm travel and start logistics
- Review event rules
- Decide wheels, tires, clothing, and nutrition strategy
- Avoid unnecessary equipment changes
The day before
- Pack bike, wheels, shoes, helmet, kit, and nutrition
- Load route or course if needed
- Pair sensors and check batteries
- Prepare bottles and food
- Pin number if allowed and practical
- Check forecast and adjust clothing
- Put documents and race license with the kit bag
Race morning
- Confirm tire pressure
- Check wheels are secure
- Check shifting and brakes
- Zero-offset power meter if appropriate
- Confirm head unit recording and sensors
- Put nutrition in the correct pockets and cages
- Verify number, timing chip, and required ID
- Start warm-up on time
After the race
This is where the checklist improves. Note what failed, what was missing, what you carried but did not need, and what caused stress. The best cycling race day checklist does not stay generic. It becomes specific to your racing, your equipment, and your habits.
If you forgot a rain layer, add a weather trigger. If your power meter battery caused anxiety, move the battery check earlier. If your number flapped, change how you pin it. If you packed too much and felt cluttered, simplify.
Racing is uncertain because the course, competitors, weather, and tactics are outside your control. Your equipment process is one of the few things you can make predictable.
A strong cycling pre race checklist does not make you faster by itself. It lets the fitness you already built show up without being compromised by a preventable problem: remove friction, protect focus, and start with nothing left unresolved.