Immagine generata dal nostro modello.
tire pressure
Cycling Tire Pressure: Find Your Fastest Safe PSI
Cycling tire pressure is not a set-and-forget number. Learn how to tune road, gravel, and tubeless pressure with repeatable field testing.
Cycling tire pressure is a performance setting, not a habit
Cycling tire pressure sits in the same category as gearing, pacing, position, and nutrition. It changes how much speed you keep, how confidently the bike tracks the ground, how much fatigue you absorb, and how exposed you are to punctures or rim damage.
The mistake is treating pressure like a fixed identity. Road bike tire pressure gets copied from an old sidewall habit. Gravel tire pressure becomes a nervous compromise between not flatting and not bouncing through every corner. Tubeless tire pressure gets treated as permission to go lower without asking whether the tire is still supported.
The better approach is to treat pressure as a variable that responds to load, surface, tire volume, speed, and ride intent. A bike tire pressure calculator is a strong starting point because it forces the right questions. But the calculator should begin the process, not end it. The final answer comes from how the bike behaves under you and what your ride data says afterward.
The variables that actually move your pressure range
Tire pressure is not only about tire width. It is about the load the tire carries and the job it has to do.
Start with these variables:
- Rider and bike load: More load needs more tire support. Less load can usually run less pressure before the tire becomes unstable.
- Tire volume: Larger volume gives the tire more room to deform without collapsing, which is why gravel tire pressure usually sits lower than road bike tire pressure.
- Casing construction: A supple casing may feel controlled at lower pressure, while a stiffer casing can need different support to avoid feeling dead or harsh.
- Rim width: Rim shape changes tire profile, sidewall support, and cornering feel.
- Surface texture: Smooth pavement, broken pavement, hardpack, loose gravel, mud, and washboard all ask different things from the tire.
- Ride speed: Faster impacts create higher support demand, especially on rough surfaces.
- Tubes versus tubeless: Tubeless changes pinch-flat risk, but it does not remove rim strikes, burping, sidewall damage, or casing instability.
- Ride type: Training, racing, endurance rides, commuting, group rides, and technical gravel do not all reward the same compromise.
The right pressure is the one that lets the tire deform enough to follow the surface while still holding its shape under load. Too much pressure makes the bike skip across texture. Too little lets the casing move around instead of supporting the bike.
How pressure changes speed, grip, fatigue, and risk
Pressure changes speed through energy loss. On very smooth pavement, a firmer tire can feel quick because it deforms less. On real roads and trails, that logic breaks down when the tire stops absorbing surface texture and starts bouncing the bike and rider instead.
That vertical motion is not free. It increases vibration, muscle tension, and the small corrections needed to keep the bike on line. On rough pavement or gravel, a slightly lower pressure can hold speed better because the tire tracks the ground rather than fighting it.
Grip follows the same cause-and-effect chain. A tire needs enough contact and conformity to brake, corner, and climb predictably. Too much pressure reduces that conformity, so the bike can feel lively in a straight line but nervous when leaned over or loaded under braking. On gravel, this often shows up as front-end wash, rear-wheel skipping, or traction loss on seated climbs.
Too little pressure creates a different problem. The bike may feel muted rather than planted. Steering can become vague, the rear tire can squirm during hard efforts, and sharp impacts can reach the rim. For tubeless setups, sealant at the bead, burping, or sidewall instability means the low-pressure advantage has crossed into risk.
Comfort matters because it preserves performance. A rider who is less beaten up can hold position, pedal smoothly, eat and drink, and make better decisions late in the ride. The goal is not softness for its own sake. The goal is reducing wasted motion without losing support.
A practical starting framework for road, gravel, and tubeless
There is no universal PSI, but the adjustment logic changes by setup.
Road pressure logic
Road tires usually have less air volume, so small changes are noticeable. Start from a calculator or a known safe baseline, then adjust in small steps. On smooth, clean pavement, you can bias toward support and a sharper feel. On broken pavement, chipseal, or rough winter roads, the better setting often moves lower because the tire needs to absorb texture before that texture reaches your hands, shoulders, and hips.
If the bike feels harsh and the same effort produces disappointing speed on rough sectors, test slightly lower. If the tire feels vague during out-of-saddle accelerations or hard cornering, move slightly higher.
Gravel pressure logic
Gravel tires usually have more volume and face larger surface variation. The useful range is wider, but the consequences of being wrong are also clearer. Hardpack and fast dirt reward enough support to keep the bike responsive. Loose, chunky, or washboard surfaces often reward more compliance because the tire needs to stay in contact with the ground rather than ping across it.
If you are braking early because the front tire will not settle, test lower. If the rear tire squirms, lags under acceleration, or hits the rim on sharp impacts, test higher.
Tubeless pressure logic
Tubeless gives more room to tune lower because pinch-flat risk changes, but it is not a free pass. The tire still needs enough pressure to hold shape in corners, protect the rim, and keep the bead stable. The lower you go, the more important inspection becomes.
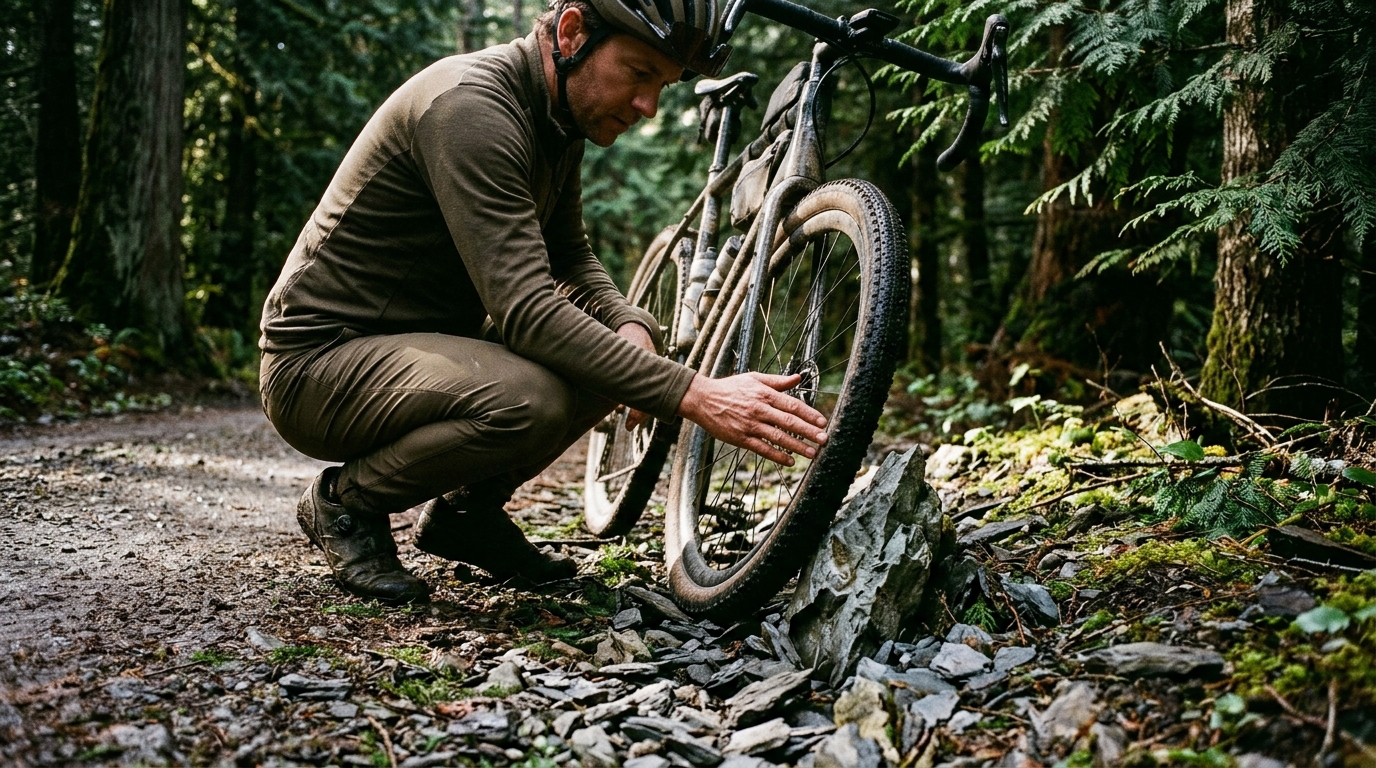
After aggressive rides, check for sealant loss, bead movement, sidewall cuts, and rim contact. If those signs appear, the setup is not proving that low pressure is fast. It is proving that the system is under-supported for that terrain and speed.
Measurement discipline comes before testing
Pressure testing only works if the measurement is consistent. A clean protocol starts before the ride.
Use these rules:
- Use the same pump or gauge throughout a test block.
- Check pressure before the ride, when the tires are at ambient temperature.
- Record front and rear pressure separately.
- Do not compare readings from different gauges as if they are exact.
- If you switch gauges, treat the next ride as a new baseline rather than a continuation of the old one.
- Recheck after any adjustment, especially when bleeding air in small steps.
This matters because pressure differences that feel meaningful on the road can be similar in size to the disagreement between gauges. If the measurement tool changes, you may be testing the gauge rather than the tire.
Using ride data without pretending it is a lab test
Ride feel matters, but it can lie. A hard tire can feel fast because it transmits more feedback. A compliant tire can feel slower because it is quieter. Data helps separate sensation from outcome, as long as you do not overclaim precision from messy outdoor rides.
Look for patterns across similar loops, not one heroic file.
Useful comparisons include:
- Normalized effort versus speed on a familiar rough sector.
- Speed through the same broken-pavement stretch at the same perceived effort.
- Whether you brake earlier or later before the same rough corner.
- Whether the front tire lets you hold the same line with less correction.
- Whether you stay seated over choppy terrain instead of standing to protect the bike.
- Post-ride fatigue notes for hands, shoulders, lower back, and neck.
- Any equipment signs such as rim contact, sealant marks, cuts, or tire squirm.
For example, if a lower road pressure lets you ride a rough sector at similar effort with steadier speed, less hand fatigue, and no vague cornering, that is useful evidence. If the file is faster but the ride had a tailwind or less traffic, do not treat it as proof.
On gravel, braking points and corner confidence can be more revealing than average speed. If one pressure lets you brake later into a loose turn, hold the line, and accelerate without rear-wheel skip, it may be faster even if the ride file looks similar. Gravel speed is noisy. Control that lets you avoid mistakes is real performance.
A repeatable field-testing protocol
The best tire pressure test is boring, repeatable, and specific to where you ride. You are not trying to prove a universal law. You are trying to find the range where your tires are supported, controlled, and efficient on your terrain.
Choose a test loop
Pick a loop that includes the surfaces and corners that matter for your riding. For road, include smooth pavement, rough pavement, braking zones, and at least one corner where confidence matters. For gravel, include hardpack, loose sections, small impacts, and a climb or turn where traction is easy to judge.
Keep the loop short enough that fatigue does not become the main variable.
Start from a sensible baseline
Use your normal pressure or a calculator-derived starting point. Record tire model, tire size, wheel setup, front pressure, rear pressure, surface condition, weather, and how the bike is loaded.
Do not change other variables. Same tires, same wheels, same bike, same kit, same position, and same approximate effort.
Make small pressure changes
For road setups, change pressure by one to two psi at a time. For larger gravel or tubeless setups, two to three psi is usually a practical step because the tire volume is larger and the difference can be harder to feel.
Avoid big jumps unless the baseline is clearly wrong. Large changes tell you that one setup feels different. Small changes tell you where the useful range starts and ends.
Repeat before trusting the result
Do at least two repeat runs at each setting before you believe a result. If conditions are variable, do three. If the first pass is interrupted by traffic, a gusty section, a pacing mistake, or a bad line through a corner, throw it out rather than building a conclusion around bad data.
A simple structure works well:
- Ride the loop at your baseline.
- Adjust pressure slightly lower and repeat.
- Return to baseline if conditions are changing, then test again.
- Test slightly higher on another pass or another similar day.
Alternating back to baseline helps you separate a real tire-pressure change from warming up, fatigue, wind shift, or growing confidence on the course.
Decide what is meaningful
A change is meaningful when the same signal appears more than once and matches both feel and data.
Trust the result more when several things point in the same direction: steadier speed on rough ground, similar or lower effort, less braking, cleaner cornering, fewer line corrections, and no signs of rim contact or tire instability.
Treat the result as noise when only one metric improves and the ride context changed. A faster sector with more tailwind is not a pressure win. A slower pass late in the test may be fatigue, not rolling resistance. A nervous corner may come from traffic or a poor line rather than overinflation.
The standard is not perfect precision. The standard is repeated evidence that one pressure makes the bike easier to ride fast without adding equipment risk.
Separate front and rear decisions
The rear tire carries more drive load and usually takes more impact. The front tire controls braking and cornering confidence. Treat them as related, not identical.
A front pressure that is too high can ruin handling even if the rear feels fine. A rear pressure that is too low can feel sluggish or risk rim contact even if the front is perfect. Record both, test both, and resist the habit of moving them together automatically.
Stop at clear warning signs
Rim strikes, tire squirm, burping, repeated loss of support, or visible sidewall damage are not data points to push through. They are evidence that the setup is no longer appropriate for that terrain, speed, and riding style.
How to adjust for weather, surface, and ride type
Pressure should move with conditions, but the reason should be clear.
On smooth, clean pavement, support and efficiency can take priority because impact size and grip demand are lower. On broken pavement, the tire needs more ability to smooth texture, so a slight reduction often makes the bike calmer and easier to keep on power.
For wet roads, grip becomes more important. A modest reduction can help the tire conform to the surface, but the change should not be so large that the bike becomes sluggish or unstable under braking.
On gravel, surface dictates the decision. Hard, fast gravel rewards support. Loose, chunky, or washboard surfaces reward tracking and compliance. Mud complicates the picture because grip, casing shape, and clearance all matter. In those conditions, pressure is only one part of the setup.
Ride type matters as much as surface. For a hard group ride or race, you may accept a firmer feel if it improves acceleration and keeps the bike precise. For a long endurance ride, more compliance can be the faster choice because it protects posture and power late in the ride. For technical gravel, the best setup is often the one that lets you brake less, corner cleaner, and stay seated over rough sections.
Build a tire pressure log that actually helps
The riders who get pressure right are not guessing better. They are remembering better.
Create a simple log with the fields that matter:
- Date and ride type
- Tire model and tire size
- Wheel and rim setup
- Tube or tubeless setup
- Gauge or pump used
- Front and rear pressure before the ride
- Surface description
- Weather and road condition
- Bike load
- Notes on speed, grip, braking, cornering, and fatigue
- Any problems, including rim contact, sealant loss, cuts, burping, or squirm
The value is not the single entry. It is the pattern that appears after enough similar rides. You will learn that one setup works for fast pavement, another for rough training roads, another for dry gravel, and another for loaded endurance riding.
This also makes race prep calmer. Instead of making a pressure decision in the parking lot based on anxiety, you can look at past rides that match the course and conditions. That is how tire pressure becomes part of your performance system rather than a last-minute guess.
The best PSI is a tested range
There is no universal best cycling tire pressure. There is a working range where the bike is fast, controlled, and protected. Your job is to find that range for your body, tires, wheels, terrain, and goals.
Start with a calculator. Measure consistently. Test in small steps. Repeat before trusting the result. Read the ride data alongside braking points, corner confidence, and fatigue. Keep a log so each ride makes the next decision easier.
The best pressure is not the highest pressure you can tolerate or the lowest pressure you can get away with. It is the pressure that lets the tire do its job while you do yours: produce power, hold lines, carry speed, and finish with the bike intact.