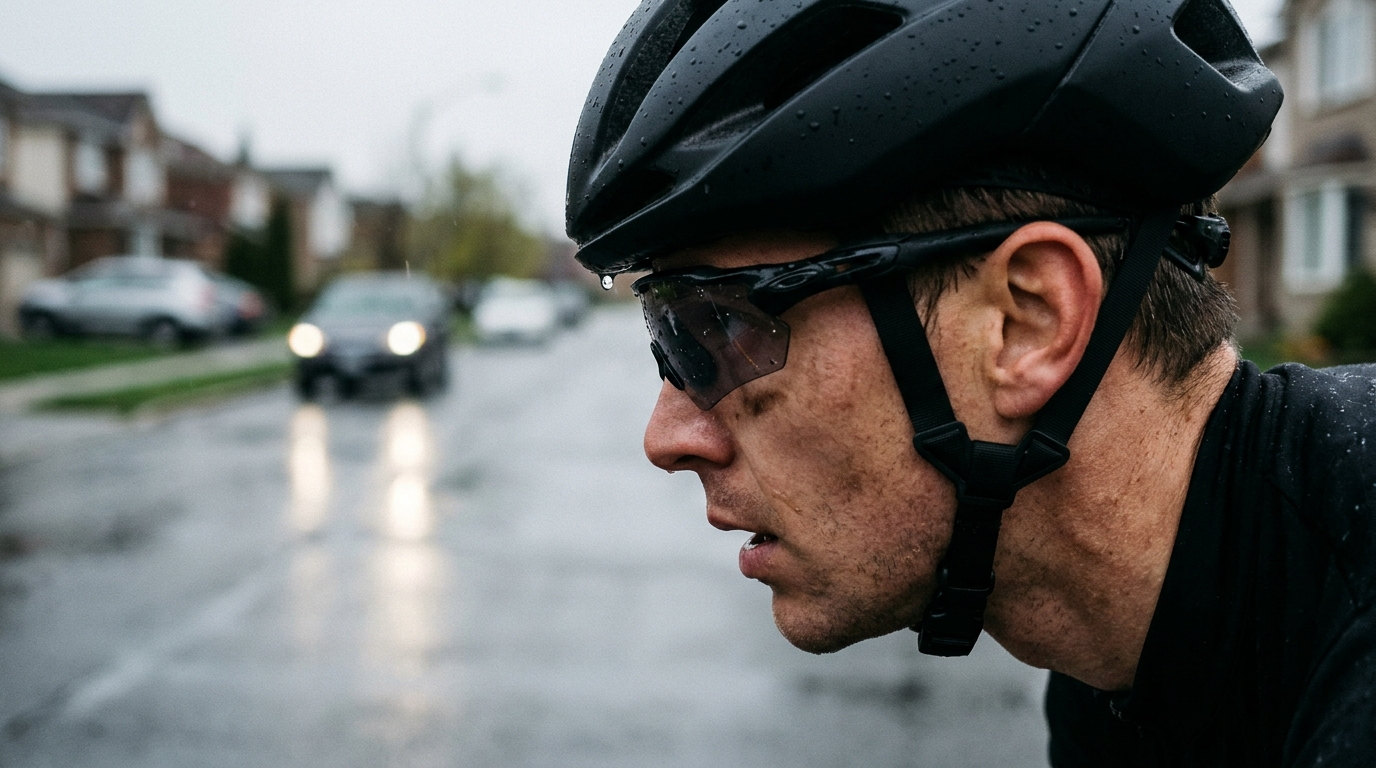
Image generated by our model.
helmet fit
How to Fit a Bike Helmet: Position, Straps and Retention
A practical guide to bike helmet fit, from shell size and forehead position to strap routing, retention tension, glasses, caps and pre-ride checks.
Why Helmet Fit Matters More Than Helmet Price
A premium helmet that sits too high, slides forward under braking, or has loose straps is not doing the job you paid for. Bike helmet fit is the interface between the safety design and your head. If that interface is sloppy, the helmet can move before it absorbs impact, expose parts of the skull it should cover, or rotate into a position that blocks vision when you need control most.
This is the same logic that applies to any performance setup on the bike. A good product only becomes useful when it is adjusted to the rider. Cleat position affects power transfer. Saddle height changes muscle recruitment. Helmet position changes how consistently the shell stays where it needs to be.
Price can buy lighter materials, better ventilation, cleaner strap management and more refined retention systems. It cannot solve a poor shell shape, an unstable forehead position, or straps that are routed below the ear like an afterthought. Road cycling helmet safety starts with fit because fit determines whether the helmet remains aligned during the exact moment it is needed.
The goal is simple: the helmet should feel stable without feeling crushed, low enough to protect the forehead without obstructing vision, and secure enough that head movement does not cause helmet movement.
Before adjusting any helmet, follow the manufacturer’s manual for that specific model. Strap routing, pad placement, retention adjustment and post-crash replacement guidance can vary by design. A good fit process should work with the helmet’s instructions, not replace them.
Choose the Right Helmet Size and Shape
Cycling helmet adjustment only works if the shell is compatible with your head. Retention dials and straps can fine-tune fit, but they cannot turn the wrong shape into the right one.
Start with shell size. The helmet should sit fully on the head, not perch on top of it. If it feels like it is balancing above the skull, the shell is likely too small or the internal shape is wrong. If the helmet reaches the correct forehead position but leaves broad empty space at the sides or front, it may be too large or too round for your head.
Shape matters as much as size. Some helmets suit longer, narrower heads. Others suit rounder profiles. A helmet that matches your circumference on paper can still create pressure points at the temples or leave gaps at the front and back. Those gaps matter because they allow movement. Pressure points matter because riders loosen the system to make the helmet tolerable, which then reduces stability.
A good initial fit should pass a simple test before you touch the straps: place the helmet on your head, set it in the correct position, and lightly tighten the retention system. The shell should feel evenly supported. You should not feel one hard contact point doing all the work.
If you are between sizes, do not automatically size up for comfort. A larger shell can feel comfortable in the shop and unstable on the road. The better choice is the smallest size that sits correctly without pressure points, allows the retention cradle to engage the back of the head, and leaves room for the hair or cap setup you actually use.
Set Forehead Position and Retention Tension
Forehead position is the anchor point for bike helmet fit. Too high and the helmet exposes the front of the head. Too low and it interferes with vision, especially when you are riding in the drops, descending, or looking through the top of your lenses.
Set the helmet so the front edge sits low on the forehead while leaving clear forward vision in your riding posture. This last phrase matters. Many riders adjust helmets standing upright in front of a mirror, then discover the helmet feels different once the torso is low and the neck is extended. Check the position as you actually ride, not as you stand in the hallway.
Once the shell is positioned, tighten the rear retention system. The dial or cradle should stabilize the helmet, not act like a clamp. If you need excessive tension to stop the helmet moving, the size, shape or strap setup is likely wrong. Over-tightening can create headaches and encourages riders to loosen the helmet mid-ride, which defeats the purpose.
The retention cradle should cup the back of the head rather than sit high on the skull. Many systems allow vertical adjustment at the rear. Lowering the cradle often improves stability because it gives the helmet something to brace against when the head moves. If the cradle sits too high, the helmet can pivot forward or bounce on rough surfaces.
A useful check is to shake your head gently with the buckle undone but the retention system engaged. The helmet should remain reasonably stable. It does not need to feel locked in place yet, because the straps are not finished. But if it slides easily before the straps are involved, fix the shell position or retention cradle before moving on.
Adjust Side Straps, Buckle and Chin Clearance
Helmet strap position is where many otherwise good setups fail. The straps do not just stop the helmet falling off. They control rotation. When the side straps, buckle and chin clearance are correct, the helmet resists sliding forward, backward or sideways.
Start with the side straps. The junction should sit close to the lower edge of the ear, with the front strap running down in front of the ear and the rear strap running behind it. The straps should frame the ear cleanly without rubbing it or twisting away from the face.
If the junction sits too low, the helmet can rotate before the straps engage. If it sits too high, it can irritate the ear and pull the shell out of position. The ideal placement is not about appearance. It is about shortening the amount of slack that exists before the strap system starts controlling movement.
Next, close the buckle and adjust chin clearance. The strap should be snug under the chin without pressing into the throat. You should be able to open your mouth and feel the helmet pull down slightly. That tells you the strap is engaged. If you can drop your jaw with no change in helmet tension, the chin strap is too loose.
Keep the buckle slightly off-center if that is where it sits most comfortably and avoids pressure under the jaw. Comfort matters because a strap that irritates the rider will be loosened during the ride. But do not solve discomfort by adding slack everywhere. Solve it by cleaning up strap routing, removing twists, repositioning the side junctions, and securing excess strap if the helmet design allows it.
After strap adjustment, repeat the movement checks. Push the helmet gently backward from the front edge. It should resist. Pull it gently forward from the rear. It should not cover your eyes. Rock it side to side. Your scalp should move with the helmet rather than the helmet sliding independently across your hair.
Check Fit With Glasses, Caps and Hair Changes
A helmet is not fitted in isolation. Glasses, caps, headbands, hairstyles and seasonal layers can change how the system sits. If you ride with them, fit the helmet with them.
Glasses should slide under or around the straps without forcing the straps away from the face. Most road riders prefer glasses arms outside the straps because it makes glasses easier to remove and reduces snagging, but the practical rule is simpler: the glasses and straps should not fight each other. If the arms push the straps outward, the side junction can drift and reduce strap control.
Caps change both volume and friction. A thin cycling cap can make the helmet feel more secure for some riders and too tight for others. The brim can also push the helmet higher if the front edge is not checked carefully. If you wear a cap in bad weather, verify that the helmet still sits low enough on the forehead and that the retention cradle still engages the back of the head.
Hair changes are easy to overlook. A fresh haircut, thick winter hair, braids or a ponytail can all alter the contact points. Ponytail-compatible retention systems help, but they still need adjustment. If hair pushes the cradle upward, the helmet loses rear stability. If hair volume lifts the shell, the forehead position changes.
The practical answer is not to chase one perfect setting all year. Treat bike helmet fit as a repeatable process. When your headwear or hair changes, check shell position, retention tension and strap routing again. That takes less time than adjusting a rear derailleur and matters far more if something goes wrong.
When a Helmet Does Not Fit
Some fit problems are not adjustment problems. They are signs that the helmet should be exchanged or replaced with a different size, shape or model.
Look for these red flags:
- Persistent pressure points at the temples, forehead or rear of the skull after normal adjustment
- Shell rocking even when the forehead position, retention cradle and straps are set correctly
- Rear cradle sitting too high and failing to cup the back of the head
- Forehead coverage only achieved by creating discomfort or blocking vision
- Broad gaps between the head and shell that disappear only when the retention system is over-tightened
- Strap routing that cannot sit flat or frame the ears cleanly on your head shape
The key distinction is cause and effect. If the helmet moves because the straps are loose, fix the straps. If the helmet moves because the shell does not match your head, more tension only hides the problem until the ride gets rough or the helmet has to do real work. A stable helmet should not require a headache-level retention setting.
Common Fit Mistakes That Reduce Protection
Most helmet fit problems are not subtle. They come from a few repeated mistakes that are easy to correct once you understand what they do.
Wearing the helmet too high
This is the classic error. The helmet looks neat and feels airy, but it leaves the forehead exposed and makes the shell more likely to rotate backward. Lower the front edge until the forehead is covered while vision remains clear in your riding posture.
Using the retention dial as the only security system
The rear dial stabilizes the helmet. It does not replace the straps. If the chin strap is loose or the side junctions are badly placed, the helmet can still rotate during a crash or sudden movement. Retention and straps have different jobs, and both need to be correct.
Leaving twisted straps in place
A twisted strap does not lie flat against the face, which can create pressure and inconsistent tension. It also makes adjustment less predictable. Untwist the straps before judging fit.
Letting the buckle hang low
A low, loose buckle creates slack before the strap system engages. The helmet may feel fine while cruising, but it can shift under hard braking, rough roads or impact. The chin strap should be close enough to engage when you open your mouth.
Ignoring movement in the riding position
A helmet can pass a mirror check and fail on the bike. Road position changes the angle of your head, the line of sight, and how glasses interact with the helmet. Always check fit while mimicking your normal riding posture.
Buying for looks over shape
A helmet that looks right but does not match your head shape will never adjust cleanly. If you keep adding tension to cure movement, the real issue is probably shell compatibility. Fit first, aesthetics second.
Pre-Ride Helmet Fit Checklist
Use this before training rides, group rides and events. It is quick, but it catches the failures that matter.
- Helmet sits low on the forehead without blocking forward vision in riding posture
- Shell feels evenly supported, with no sharp pressure points
- Rear retention cradle cups the back of the head and is snug, not crushing
- Side straps frame the ears cleanly and sit close to the lower ear area
- Straps are flat, not twisted
- Buckle is closed and comfortable under the chin
- Chin strap is snug enough that opening your mouth pulls the helmet down slightly
- Helmet resists being pushed backward, forward and side to side
- Glasses do not push straps away from the face
- Cap, headband or hair setup does not lift the shell or rear cradle
- Manufacturer’s guidance has been followed for pads, straps, retention setup and replacement after an impact
A properly fitted helmet should disappear during the ride. Not because it is loose, but because it is stable, balanced and comfortable enough that you stop thinking about it. That is the standard. If you are aware of pressure, bouncing, strap rub or shell movement, something is off.
Make helmet fit a repeatable pre-ride system, not a one-time shop adjustment. The useful data point is not how the helmet felt when it was new. It is whether the same checks still pass today: shell position, rear cradle engagement, strap control, chin tension and compatibility with the glasses, cap or hair setup you are actually using. Control those variables before the ride, because once the road stops being predictable, fit is no longer theoretical.