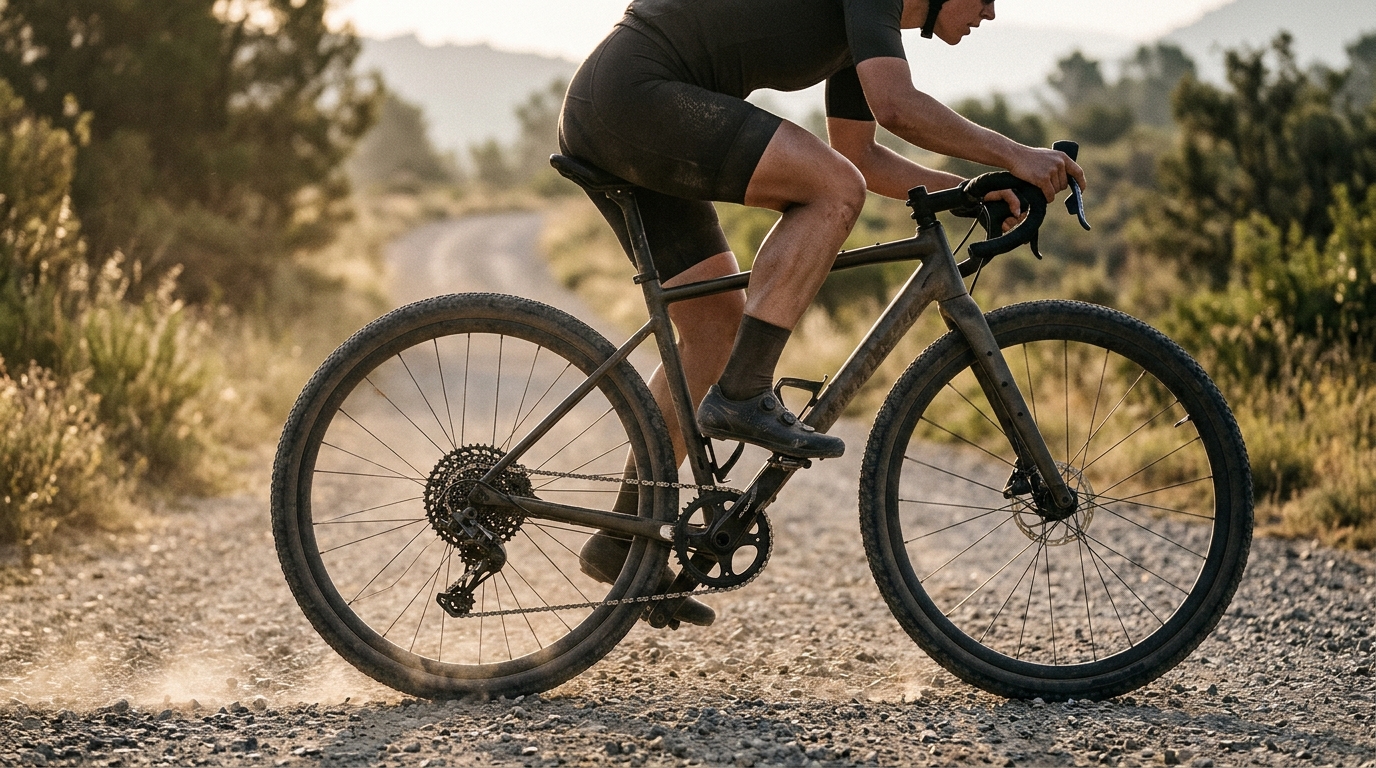
Image generated by our model.
training
Low-Cadence Cycling Intervals for Safer Torque Gains
How to prescribe low-cadence cycling intervals with cadence, power, recovery, progression and safety rules that actually protect the knees and back.
What Low-Cadence Intervals Are For
Low-cadence cycling intervals are not magic strength work, and they are not a substitute for lifting. They are a bike-specific way to expose the legs to higher pedal force while keeping the cardiovascular load controlled.
The useful word is torque. Mechanically, power comes from force applied through the pedals and the speed at which those pedals turn. When power stays the same but cadence drops, each pedal stroke has to carry more force. That is the point of the session.
This matters because many decisive riding situations naturally compress cadence. A seated climb, a headwind, a rough gravel sector, or a rolling road after fatigue has accumulated can all make the rider produce useful power when the pedals are turning slower than preferred. Low-cadence work helps make that force-heavy riding less disruptive.
The risk comes from the same mechanism. More force per stroke can also mean more stress through the knees, hips and lower back if the gear is too large, the rider is fatigued, or the position is not supporting the load. Torque work is productive only when the extra force is controlled enough to repeat.
Who Should Use Them - and Who Should Be Careful
Low-cadence work is most useful for riders who already have a consistent aerobic base and can hold steady power without chasing every change in terrain. If endurance rides are calm, tempo work is repeatable, and the bike position feels stable, torque intervals can be a productive layer.
They are especially relevant if racing or riding includes sustained climbs, rolling courses, time trialing, gravel, cyclocross starts, or long headwind sections. In those cases, the limiter is often not peak power. It is the ability to keep producing useful power when cadence falls and the legs are loaded.
Be cautious if there is a history of knee pain, recent bike-fit change, inconsistent training, or a habit of grinding every ride already. If normal endurance riding produces joint discomfort, torque work is not the fix. It usually exposes the problem faster.
Newer riders can use lower-cadence drills, but the first goal is coordination, not force. Use a cadence only slightly below normal, keep the pressure moderate, and stop before the bike starts getting muscled around.
Define the Targets Before You Start
The safest way to prescribe low-cadence cycling intervals is to start from power, cadence and form rather than gear size.
Cadence
For most endurance cyclists, a practical starting range is 60 to 70 rpm. More experienced riders may use 55 to 65 rpm for shorter or harder work. Going lower is rarely useful unless there is a specific event demand and the rider has already shown they can tolerate the load.
A good low-cadence interval still feels like cycling. The stroke should stay round enough that power is not arriving as separate shoves. If cadence drops below the target range because the gear will not turn smoothly, shift down.
Intensity
Start at upper endurance to tempo. That usually feels like RPE 4 to 6 on a 1 to 10 scale: firm pressure, controlled breathing, and no need to brace the upper body.
Build-phase work can move toward tempo to sweet spot, around RPE 6 to 7, but only after the rider can complete easier torque work without joint feedback. Threshold-style low-cadence work should be rare and specific. Most riders get the intended strength-endurance stimulus before they need that much intensity.
If using power, anchor the workout to existing zones rather than inventing a special torque zone. If the target is based on FTP, use the same zones you already trust. If the estimate is out of date, update it with the FTP estimator before building a block around these sessions.
What 'controlled' actually means
Controlled power means the first minute does not surge and the last minute does not collapse. Cadence stays inside the target band without constant gear changes. Heart rate may rise normally, but it should not drift sharply while power and conditions stay steady. RPE should feel muscular and firm, not panicked or maximal.
Clean form means hips stay quiet, knees track consistently, ankles do not collapse at the bottom of the stroke, and the shoulders do not become part of the drivetrain. The rider should finish the interval feeling loaded in the working muscles, not irritated in the joints.
Acceptable fatigue is a heavy, local muscular feeling in the glutes, quads or calves that fades as the ride normalizes. Warning signs are sharp pain, knee pressure that changes the pedal stroke, back tightness that makes the rider brace, numbness, or discomfort that grows rep by rep.
Starting Frequency and Progression
Start with one torque session per week. That is enough to learn the stimulus without letting it leak into the rest of the week. Add more only if the rider is already handling the work cleanly and there is a clear event reason.
Progress duration before power. At the same cadence, raising power means each stroke carries more force. Extending time at a manageable load usually builds the skill and durability with less risk than jumping straight to harder gears.
A simple first block can look like this:
- Week 1: 2 to 3 intervals of 5 minutes at 60 to 70 rpm, upper endurance to low tempo, with 4 to 5 minutes easy recovery.
- Week 2: 3 to 4 intervals of 5 to 6 minutes at the same cadence and intensity, with the same recovery.
- Week 3: 3 to 4 intervals of 6 to 8 minutes, still at 60 to 70 rpm, if Week 2 was stable.
- Week 4: Hold the same load, reduce it, or move slightly harder depending on the signs below. Do not automatically progress.
Progress when power is repeatable, cadence stays stable, heart rate behaves normally for the effort, RPE does not climb sharply across the set, and knees and back feel normal during the ride and the next morning.
Hold the load when the work is completed but the final reps become rough, cadence control is marginal, heart rate drifts more than expected, or the session creates unusual soreness that affects the next ride.
Reduce or remove torque work when pain appears during the interval, knee tracking changes, the lower back starts bracing, or discomfort lasts beyond the ride and into the next morning. If knee or back discomfort persists, remove torque work and check fit, recent training load, gearing choice and fatigue before reintroducing it.
Example Workouts
These are coaching templates, not universal rules. Choose terrain that allows steady pressure, preferably a shallow climb, false flat, trainer, or headwind section where power does not spike every few seconds.
Base Session: Controlled Strength Endurance
Use this when aerobic development is the priority and torque is a secondary stimulus.
- Warm-up: 15 to 20 minutes progressive endurance riding, finishing with 3 short cadence changes at normal pressure.
- Main set: 3 to 5 x 5 to 8 minutes at 60 to 70 rpm.
- Intensity: upper endurance to tempo, RPE 4 to 6.
- Recovery: 3 to 5 minutes easy spinning at normal cadence between reps.
- Total torque time: 15 to 30 minutes.
- Stop rule: end the set if cadence cannot stay in range, power starts surging to keep the gear moving, or any knee or back discomfort appears.
This should feel like a steady muscular load layered onto aerobic riding. It should not leave the rider with irritated knees, a tight back, or dead legs for the next key session.
Build Session: Torque Under Meaningful Pressure
Use this after the easier version has been repeatable for several weeks.
- Warm-up: 20 minutes progressive riding with 3 to 4 short efforts at tempo and normal cadence.
- Main set: 4 to 6 x 4 to 6 minutes at 55 to 65 rpm.
- Intensity: tempo to sweet spot, RPE 6 to 7.
- Recovery: 4 to 6 minutes easy spinning at normal cadence between reps.
- Total torque time: 16 to 36 minutes.
- Stop rule: stop when power fades across two reps, cadence drops below the target despite shifting, form changes, or joint discomfort appears.
The purpose is not to turn strength endurance into a threshold test. The value is producing solid power while each stroke carries more force than it would at normal cadence.
Race-Prep Session: Specific Torque Plus Normal Cadence
Use this closer to an event when the rider knows how low cadence shows up in the race.
- Warm-up: 20 minutes progressive riding with a few short race-cadence efforts.
- Main set: 3 to 5 rounds of 4 to 6 minutes at 55 to 70 rpm, then 1 to 2 minutes at normal cadence while holding similar pressure.
- Intensity: tempo to sweet spot unless the event specifically requires harder surges.
- Recovery: 5 to 6 minutes easy spinning between rounds.
- Total torque time: 12 to 30 minutes.
- Stop rule: stop if the transition back to normal cadence feels ragged, power spikes uncontrollably, or torque work dulls the sharper race-specific efforts.
This session connects force production to the way racing actually feels. A climb may require seated torque followed by normal-cadence pressure over the top. Gravel or headwind riding may require steady force without over-gearing. Rolling terrain may require moving from low cadence back into a smoother rhythm without wasting energy.
How to Track Progress Without Chasing Bigger Gears
The least useful measure of progress is whether the rider can push a bigger gear at the same cadence. That often rewards overreaching and ignores the real goal: better power stability under controlled force.
Track these instead:
- Power repeatability: the same target can be held across the full set without early surges or late fading.
- Cadence stability: cadence stays in the planned range without the pedal stroke becoming chopped.
- Heart-rate response: heart rate is appropriate for the zone and does not climb unusually while power stays steady.
- RPE: the effort feels muscular and firm, not desperate.
- Joint feedback: knees, hips and back feel normal during the ride, after the ride and the next morning.
- Transfer: climbs, headwinds or rolling terrain feel less disruptive during normal rides.
This is where data matters, but only if it is interpreted correctly. Power and cadence show whether the external work is controlled. Heart rate, RPE and joint feedback show whether the internal cost is acceptable. A good progression is not just more torque. It is the same torque with cleaner mechanics, lower strain and better durability.
Common Mistakes
The biggest mistake is confusing low cadence with maximal force. Low-cadence intervals should be submaximal unless a separate sprint or start effort is being trained. Most endurance riders need repeatable strength endurance, not gym-style maximal pushing on the bike.
Another mistake is selecting cadence before selecting power. If the cadence target forces the rider to surge above the intended zone just to keep the gear turning, the session has already drifted away from its purpose. Shift down, raise cadence slightly, or reduce the interval duration.
Knee pain is the clearest warning sign. It often appears when the gear is too large, cadence is too low, saddle position is not working, or fatigue causes the rider to force the downstroke instead of applying smooth pressure. Do not train through it.
Lower-back tightness deserves the same respect. It can mean the rider is over-geared, under-recovered, reaching too far, or using the torso to stabilize a force demand the legs are no longer handling cleanly.
If pain appears during the interval, return to normal cadence and easy power immediately. If discomfort remains after the ride or is still present the next morning, remove torque work until the cause is clear.
When to Stop Using Low-Cadence Work
Low-cadence intervals are a tool, not a year-round identity. They are most useful when there is a clear reason to develop force production and muscular durability. Once that need has been addressed, training should shift toward the cadence, intensity and specificity of the target event.
Reduce them when fatigue carries into key sessions, when normal riding starts to feel heavy, when race demands require more high-cadence work, or when the workouts stop producing a clear benefit.
As racing gets closer, the question changes from 'can I produce force at low cadence?' to 'can I produce race power in the way the race will demand it?' Sometimes that still includes torque work. Often it means using it sparingly while prioritizing sharper, more event-specific efforts.
The Bottom Line
Low-cadence cycling intervals work when they are treated as controlled force practice, not as a contest to turn the biggest gear. Lower cadence increases pedal force at the same power, which is exactly why the session can help climbing, headwind riding and muscular durability.
That same force is also why the prescription has to stay conservative. Start once per week, use cadence and power ranges you can control, progress duration before intensity, and treat knee or back feedback as useful data rather than something to override.
The payoff is not just stronger legs. It is better control when the road, wind or race situation pulls the rider out of a preferred rhythm.