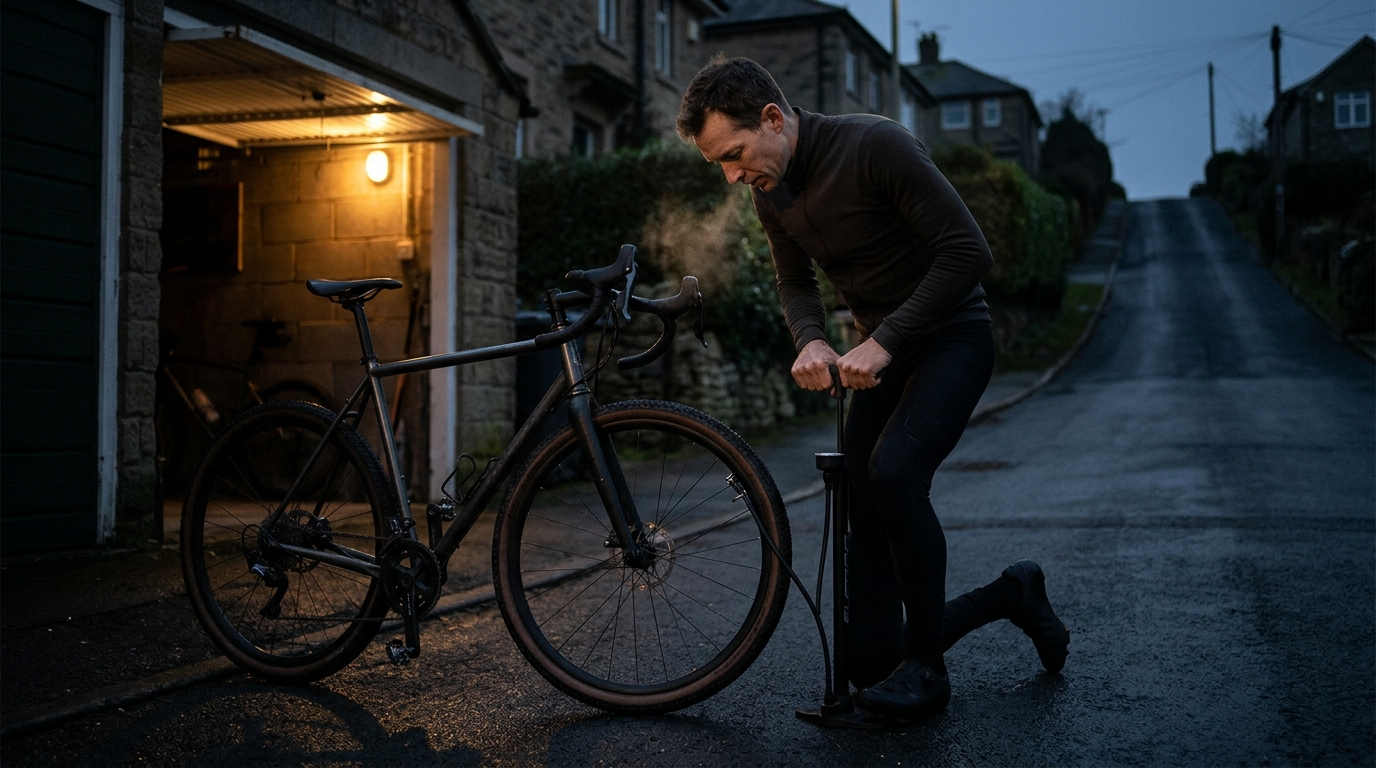
Image generated by our model.
bike fit
Cycling Crank Length: Choose the Right Size With Data
Use fit feedback, power files, cadence, torque feel, and comfort notes to decide whether changing cycling crank length is worth testing.
The short answer: how to choose cycling crank length
Choose cycling crank length by starting with the constraint you are trying to solve, not by chasing a supposedly faster number.
If your current setup lets you hold your target position, pedal smoothly, sustain power, and ride without recurring pain, keep it. If you consistently feel blocked at the top of the pedal stroke, lose power in a low torso position, struggle to hold cadence under load, or get repeatable hip or knee discomfort after the rest of your fit has been checked, crank length is worth testing.
For most riders considering a change, the more useful first test is usually shorter cranks, because they reduce the pedal circle and can open the hip at the top of the stroke. Longer cranks can still suit some riders, but the case should come from controlled testing, not the assumption that a longer lever automatically produces more speed.
The decision should come down to one question: does the crank length help you produce power comfortably and repeatedly in the position your riding demands?
Why cycling crank length matters more than most riders think
Cycling crank length is often treated like a fixed property of the bike. The frame comes with a crankset, the rider adapts, and unless there is pain or a major fit issue, nobody questions it.
That approach works until it does not. Crank length changes the circle your foot travels through on every pedal stroke. That means it changes joint angles, cadence preference, peak torque demand, and how closed your hip becomes at the top of the stroke. For endurance athletes chasing repeatable power over long durations, those are not small details.
The key point is that crank length is not automatically a performance upgrade or downgrade. A longer crank does not automatically create more power. A shorter crank does not automatically make you faster. The useful question is more specific: does your current crank length let you produce sustainable power in your actual position, with stable cadence, clean mechanics, and no recurring discomfort?
If the answer is yes, crank length may not be worth touching. If the answer is no, especially if your limiter shows up as hip restriction, knee irritation, poor aero comfort, or an inability to hold cadence under load, then crank length becomes a fit and performance lever worth testing.
How crank length affects cadence, torque and hip angle
Crank length changes the radius of the pedal stroke. That has three practical effects.
First, it changes how far the leg has to travel each revolution. Shorter cranks reduce the size of the pedal circle. Many riders find this makes higher cadence feel less forced because the legs are moving through a smaller range of motion. Longer cranks do the opposite. They create a larger circle, which can make lower cadence and higher muscular force feel more natural for some riders.
Second, crank length changes the torque relationship at the pedal. For a given force at the pedal, a longer crank creates more torque at the bottom bracket. That sounds like a simple win, but cycling performance is not just about torque. Power is torque multiplied by angular velocity. If a longer crank nudges you toward a slower cadence, creates more joint compression, or makes the top of the pedal stroke less fluid, the theoretical torque benefit can disappear quickly.
This is why the crank length power conversation is usually misunderstood. The body does not produce power through a crank arm in isolation. It produces power through a position. If crank length lets you hold your target posture, breathe well, keep the hips stable, and repeat the stroke cleanly, it supports power. If it disrupts those things, it costs you power even if the lever is longer.
Third, crank length affects hip angle. At the top of the pedal stroke, a longer crank brings the knee higher and closes the hip more. A shorter crank opens that angle. This is especially relevant for riders in aggressive road, time trial, triathlon, or gravel race positions where the torso is already low. If the hip is too closed, the rider may rock the pelvis, flare the knee, lose power over the top, or struggle to breathe deeply under load.
That is where a shorter crank can make sense. The goal is not to follow a trend. The goal is to remove a positional bottleneck.
Signs your current cranks may be limiting comfort or power
Crank length decisions should start with symptoms, not fashion. The strongest signal is a pattern that repeats across rides and intensities.
Watch for these signs:
- Knee discomfort that appears when intensity rises, especially if it is tied to the top or front of the stroke
- Hip pinching or a blocked feeling when riding in the drops, aero bars, or a low road position
- Pelvis rocking even after saddle height and saddle position have been checked
- Difficulty maintaining your normal cadence during threshold or sweet spot work
- A sensation that you are pedaling in squares when fatigued
- Power dropping sharply when you move into a more aerodynamic position
- One knee tracking differently from the other under load
- Lower back tightness that appears when the hip angle becomes more closed
None of these proves crank length is the cause. Saddle height, saddle setback, cleat position, mobility, strength, and training load can all create similar symptoms. But if those variables are already controlled and the problem remains, crank length belongs in the investigation.
Knee pain that seems related to crank length is particularly easy to misread. A rider may lower the saddle to feel more stable, then increase knee flexion at the top of the stroke and make the joint feel worse. Another rider may raise the saddle to unload the knee, then overreach at the bottom and create hip rocking. Crank length sits inside this system. Change one part of the circle and the rest of the fit needs to be reconsidered.
What data to review before changing crank length
Before buying parts, collect evidence. The best crank length decisions combine subjective fit feedback with objective ride data.
Start with power and cadence files from efforts you understand well. Look at steady endurance rides, tempo intervals, threshold work, and climbs or headwind sections where torque demand rises. You are looking for repeatable patterns, not a single bad day.
Ask these questions:
- Does cadence fall apart before power does?
- Do you produce good power seated on mild terrain but struggle when the road or resistance increases?
- Does power drop when you move into a lower torso position?
- Are left-right balance or torque patterns different when fatigued?
- Do you see more variability in power when cadence is high or low?
- Do discomfort notes line up with specific intensity zones or positions?
If you use a training log, add fit notes to the same place you track power. A simple note like 'hip blocked in drops during threshold' is more useful than a vague memory later. Pairing sensations with files helps separate a crank length issue from a fatigue issue.
Also review your current fit. Saddle height, saddle fore-aft, cleat position, handlebar reach, and bar drop all influence joint angles. If the fit is obviously wrong, fix that first. Crank length should not be used to compensate for a saddle position that is already creating problems.
For riders working from power zones, make sure your baseline is current. If your threshold estimate is stale, you may blame crank length for intervals that are simply set too hard. You can estimate your FTP if you need a practical starting point, but remember that any discussion of FTP is only useful when the input data reflects your current fitness.
A controlled crank-length testing protocol
The most common mistake is changing crank length and several other things at once. New crankset, new chainrings, new saddle height, new cleats, new shoes, new training block, then the rider tries to decide whether the crank arms helped. That test is almost impossible to read.
A cleaner process is to run a controlled before-and-after test.
Step 1: Build a baseline
Use your current setup for two normal training weeks before the change. That is long enough to include different ride types without turning the test into a season-long project.
During the baseline, complete at least four comparable rides that you can repeat after the change:
- One steady endurance ride on familiar terrain
- One tempo or sweet spot session with sustained seated work
- One threshold session with intervals long enough to expose position and cadence issues
- One ride that uses your key race position, such as drops, aero bars, or your usual climbing posture
If your main event demands a specific limiter, add that session. A gravel rider might include seated low-cadence climbing. A time trial rider should include extended work in the aero position. A road racer may care more about seated accelerations after fatigue.
Step 2: Record the same information after every baseline ride
After each ride, log:
- Average power and normalized power for the key effort
- Cadence during the key effort, not just whole-ride cadence
- RPE for the key effort
- Whether power was stable, drifting, or spiky
- Position used during the effort
- Position comfort, especially hip, back, neck, and hand pressure
- Any pain location, side, timing, and intensity
- Whether the discomfort appeared earlier, later, or only at higher intensity
- Notes on sleep, fatigue, fueling, and unusually hard prior training
The last point matters because crank length should not take the blame for a bad test performed under poor recovery.
Step 3: Change only what is necessary
When crank length changes, saddle height and extension must be reassessed because the bottom and top of the pedal stroke have changed. At the bottom of the stroke, crank length affects how far the foot reaches away from the hip. At the top of the stroke, it affects how much the hip and knee close.
A common starting point is to adjust saddle height by the same amount as the crank-length change, in the opposite direction. If the crank gets shorter, the saddle often starts slightly higher. If the crank gets longer, the saddle often starts slightly lower. Treat that only as a starting point, not a universal prescription. The correct position is the one that keeps the pelvis stable, avoids overreaching at the bottom, and lets the leg come over the top without a blocked hip or irritated knee.
Keep every other variable as stable as possible. Use the same power meter if possible. Use the same shoes and cleats. Keep tire pressure, tires, wheels, saddle, bar position, and clothing comparable for the test rides. If something else must change, write it down so you do not overinterpret the result.
Step 4: Allow a short adaptation window, then repeat the test
Do not judge the new crank length from the first ride. Neuromuscular feel can be strange at first, especially if the change is noticeable. Use the first three rides as an adaptation window unless pain is sharp or worsening. These rides should be mostly familiar endurance and light tempo, not maximal testing.
After that, repeat the same four baseline rides as closely as practical. Use the same routes or trainer sessions, similar tire pressure and equipment setup, the same power meter, the same shoes and cleats, and the same key workouts.
Step 5: Decide whether the change worked
The new crank length worked if it improves the original constraint without creating a larger new problem.
Keep the change if most of the following are true across the repeated sessions:
- Sustainable power is the same or better in the position that matters most
- Cadence is more stable during tempo, sweet spot, or threshold work
- RPE is the same or lower at comparable workloads
- Hip, knee, or back discomfort appears later, decreases, or disappears
- You can hold your target position with less compensation
- No new pain pattern appears across repeated rides
Revert or reassess if power drops in the sessions that matter, pain appears in a new location, cadence becomes less stable, or the fit only feels good when riding easily.
The goal is not to prove the new crank is better because you want it to be. The goal is to find whether it improves the constraint that led you to test it.
Crank-length change checklist
Use this checklist before judging the outcome.
Fit and setup
- Recheck saddle height after the crank change
- Reassess bottom-of-stroke extension and top-of-stroke closure
- Treat any saddle-height rule of thumb as a starting point only
- Confirm saddle fore-aft has not moved unintentionally
- Keep the same saddle if possible
- Use the same shoes and cleats
- Avoid changing cleat position unless there is a clear reason
- Use the same power meter if possible
- Keep tires, wheels, and tire pressure comparable
- Keep bar position and reach stable during the test
- Repeat the same key sessions before and after the change
Ride log template
Use the same template for every test ride:
- Ride type:
- Route or trainer session:
- Crank length:
- Saddle height note:
- Power meter used:
- Tire pressure and equipment setup:
- Key interval power:
- Key interval cadence:
- RPE:
- Position used:
- Position comfort:
- Pain location, side, timing, and intensity:
- Cadence stability:
- Power stability:
- Fueling and recovery notes:
- Decision note:
The decision note should be specific. 'Better' is too vague. 'Could hold aero position through threshold intervals with no right hip pinch and stable cadence' is useful.
Do not overvalue peak power
A short sprint test can be interesting, but most endurance athletes should care more about repeatable power and comfort. If shorter cranks slightly change your jump but let you hold an aerodynamic position longer, that may be a net win. If longer cranks feel strong for a few accelerations but create hip or knee issues during sustained work, that is not a good trade.
This is where the testing protocol matters. Peak numbers are seductive because they are easy to see. The better question is whether the new setup improves the kind of power you actually need when fatigue, position, and terrain are all part of the problem.
How to update fit, gearing and power zones after a change
Changing crank length is not finished when the crankset is installed. The bike has to be re-centered around the new pedal circle.
Recheck saddle height and extension
A crank length change alters reach at the bottom of the stroke and joint closure at the top. Saddle height should be reassessed with the new cranks, not copied blindly from the old setup. The right question is whether the rider is stable through the pelvis, smooth over the top, and not reaching at the bottom.
This is the fit implication that gets missed most often. Shorter cranks can reduce top-of-stroke closure, but if the saddle is left in a poor position, the rider may still feel unstable or underextended. Longer cranks can increase reach at the bottom and closure at the top, so copying the old saddle height can create a different problem even if the rider liked the previous fit.
Recheck saddle fore-aft and cleat feel
Some riders perceive a different relationship to the pedal after changing crank length. Before moving the saddle or cleats, ride enough to identify a real pattern. Then make small, deliberate changes if needed. The aim is to preserve a strong, repeatable relationship between hip, knee, ankle, and pedal spindle under load.
Revisit gearing feel
Shorter cranks can make cadence feel more natural for some riders, while longer cranks can encourage a lower-cadence style. That may change which gears feel comfortable during climbs, tempo work, or seated accelerations. You may not need new gearing, but you should pay attention to whether your preferred cadence and gear selection have shifted.
This matters because cadence is part of how you distribute stress. A lower cadence at the same power usually increases muscular demand. A higher cadence shifts more demand toward aerobic and neuromuscular control. Neither is universally better. The right choice depends on your event, position, fatigue resistance, and how your body responds.
Validate power zones
Do not assume your old zones are wrong immediately after a crank change. Early rides may feel different because coordination is adapting. Once the setup feels normal, validate your training zones with familiar efforts or a structured test. If sustainable power has changed, update zones. If only cadence preference has changed, the zones may stay the same while execution changes.
This distinction matters. Crank length may improve comfort without raising threshold power. That can still be a performance gain if it lets you hold position longer, fuel better, or finish hard after several hours.
When crank length is worth changing - and when it is not
Crank length is worth changing when there is a clear limiter and a plausible mechanism.
It is worth testing if:
- You cannot hold your target race position without hip restriction
- Knee discomfort persists after sensible fit adjustments
- Power drops in a lower torso position across repeated comparable efforts
- Your cadence becomes unstable under sustained load
- Pelvic rocking remains even after saddle height is addressed
- You are building a new bike and can choose crank length intentionally
Shorter cranks are often the more relevant test for riders dealing with closed hip angles, aggressive positions, or recurring knee irritation linked to excessive flexion. They can make the pedal stroke feel less constrained and give the rider more room at the top of the stroke.
Longer cranks may suit some riders who feel better with a slower, more forceful pedaling style and have no issues with hip closure or joint comfort. But the case for going longer should be made from feel, fit, and repeatable performance, not the assumption that a longer lever automatically means more speed.
Crank length is probably not worth changing if your current setup is comfortable, your cadence is stable, your power is consistent across positions, and you have no recurring pain. In that case, the return on investment may be low compared with training consistency, better fueling, improved pacing, or a cleaner aerodynamic position.
It is also not the first lever to pull if the bike fit is clearly off. A poor saddle position, unsuitable reach, unstable cleats, or excessive training load can all masquerade as a crank problem. Fix the obvious constraints first.
The practical decision framework
A good cycling crank length decision should end with one of three conclusions.
First: keep your current cranks. This is the right answer when the data and fit feedback show no real limiter. Stability is valuable. Do not create a new variable just because a different length is popular.
Second: test shorter cranks. This is the logical move when the main problem is hip closure, positional power loss, aero discomfort, or knee irritation that appears connected to excessive joint flexion. The test should be controlled, repeated, and judged on sustained output, not novelty.
Third: test longer cranks only if you have a specific reason. That reason might be comfort, preferred cadence, or the feel of force production, but it should be supported by ride data and fit observation.
The best equipment changes have a job. Crank length is no different. Identify the constraint, change one variable at a time, repeat the same sessions, and judge the result by the outcome that matters: whether you can produce power comfortably and repeatedly in the position your riding demands.