Image generated by our model.
maintenance
Carbon Bike Inspection After a Crash: What to Check Before Riding
How to inspect a carbon bike after a crash, decide whether it is safe to ride, and know when fork, bar, wheel or frame damage needs expert inspection.
Why a post-crash carbon bike inspection matters
Inspecting a carbon bike after a crash is not about being precious with expensive equipment. It is about separating cosmetic damage from structural risk before the next ride turns into the real problem.
Carbon is strong when the load travels through the bike in the way the frame, fork, wheels and cockpit were designed to handle. Crashes are different. The bike can hit the ground sideways, twist through the bars, land on the derailleur, or take a direct strike on a tube that normally sees mostly pedaling and road loads.
That is why a post-crash carbon bike inspection has to start with the crash path. The useful question is not only, 'does it look okay?' The better question is, 'where did the force enter the bike, and what did it have to travel through before it stopped?'
A slide on the drive side tells a different story than a front wheel impact. A bar strike loads different parts than a rim strike. A crash that rotates the bars against the frame can stress the lever clamp, handlebar, stem, steerer, headset and head tube even if the frame tubes look untouched.
You do not need to panic after every low speed slide-out. You do need a repeatable process that keeps emotion, adrenaline and training urgency from making the decision for you.
Stop riding immediately if these are present
End the ride and arrange transport if any of the following are true:
- The frame, fork, handlebar, stem, seatpost, crank or wheel makes a new creaking, cracking, clicking or rubbing sound under load.
- The steering feels notchy, twisted, loose or misaligned.
- The bars, brake levers, saddle, seatpost or wheels are visibly out of line.
- A wheel will not spin freely or rubs heavily under light load.
- The brakes feel inconsistent, spongy, seized or contaminated.
- You see a crack, crushed area, deep gouge, lifted paint around an impact, delamination or loose carbon fibers.
- The bike took a direct hit to the fork, head tube, handlebar, seatpost or rim.
The reason to be stricter with these parts is consequence. A cracked accessory mount is inconvenient. A compromised fork steerer, bar, rim or front brake is a loss of control problem. Those are not components to test by riding home.
Also separate your own condition from the bike decision. Adrenaline makes both riders and bikes look better than they are. If you hit your head, landed hard, or feel unclear, the bike inspection can wait. Your judgment is part of the safety system.
Read the crash path before you inspect the bike
Crash damage usually has a logic to it. Work from the likely impact point outward instead of staring randomly at the frame.
Drive-side fall
A drive-side impact can load the derailleur, hanger, dropout and chainstay before the force reaches the rear triangle. If the derailleur is pushed inward, the risk is not just poor shifting. A bent hanger can move the derailleur toward the spokes, which can turn a small crash into a destroyed wheel or frame if you shift hard under load.
Check the hanger, dropout faces, derailleur body, chainstay, cassette clearance and wheel tracking before shifting across the cassette.
Non-drive-side fall
A non-drive-side slide often marks the lever, bar end, pedal, crank arm, skewer or thru-axle area. The bike may still shift normally, which can make the crash feel less serious, but the cockpit and wheel still need attention.
A lever that rotated hard can clamp, score or crush the bar. That matters because the bar is loaded again every time you sprint, descend, brake or hit rough pavement.
Front-end impact
A front impact can load the tire, rim, spokes, hub, dropouts, fork blades, crown, steerer, headset, stem and handlebar in sequence. If the wheel stopped suddenly but the rider and frame kept moving, the fork and steerer may have absorbed forces that are not obvious from the outside.
This is why odd steering feel after a crash is a major warning sign. Binding, play, a tight spot or a front end that will not align cleanly points toward a system problem, not just a cosmetic scratch.
Bar rotation or lever strike
When the bars twist in a crash, the force can travel through the lever clamp into the carbon bar, then into the stem and steerer. If the bar hits the top tube, you also have a secondary frame impact.
Do not simply straighten the cockpit and keep riding. Loosen, inspect and reassemble with the correct torque process. A bar that looks straight can still have clamp damage under the tape or lever body.
Rim or wheel strike
A rim impact can be misleading because the wheel may still spin. Look for damage at the bead, sidewall, spoke holes, valve hole and brake track if applicable. With disc brakes, a bent rotor can distract from the harder question: did the impact also load the dropout, hub end cap or thru-axle interface?
The quick roadside safety check
The roadside check is triage. You are deciding whether the bike can be moved cautiously, not clearing it for training.
Start with alignment. Stand in front of the bike and look down the centerline. The front wheel, stem, bars, top tube and rear wheel should visually agree. Then stand behind the bike and check the rear triangle, derailleur position and wheel tracking.
Check steering and braking next. Hold the front brake and rock the bike gently to feel for headset play. Turn the bars side to side. Any grinding, binding, sudden tight spot or new resistance is a warning. Squeeze both brakes and confirm the levers, calipers, hoses or cables, and pads work normally.
Then check rolling parts. Spin each wheel. Look for wobble, hop, rubbing, rim damage, tire cuts and debris caught near the brake or frame. For disc brakes, confirm the rotor is not bent into the pads. For rim brakes, inspect the brake track and pad alignment.
Finish with a light contact check. Run your hand over the fork blades, head tube area, top tube, down tube, chainstays, seatstays, bars, seatpost and rims. Feel for ridges, dents, soft spots, sharp cracks, lifted paint and anything that was not there before.
If the bike passes this basic check and you choose to ride home, make it transport, not training. No sprints, no hard descending, no rough shortcuts and no out-of-saddle torque tests. The goal is to reduce load on an unknown structure until you can inspect it properly.
How to inspect carbon frames, forks and seatposts at home
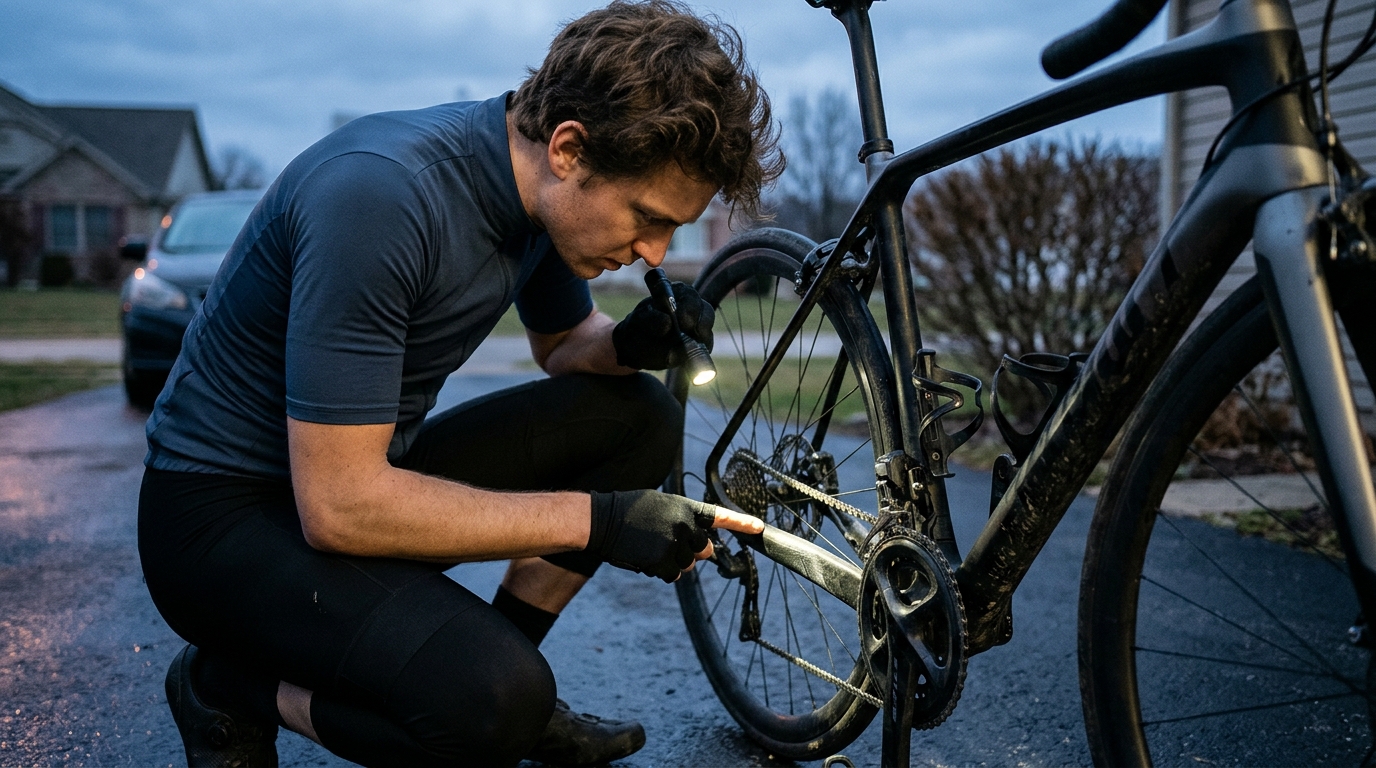
Clean the bike before a full inspection. Dirt hides crack edges and makes impact marks harder to read. Remove bottles, bags, lights and accessories so the frame is visible.
Use bright light and inspect from multiple angles. Carbon damage can be obvious, but it can also show up as a change in surface shape, sound, texture or behavior under light load.
Frame
Look closely at the top tube, down tube, head tube junctions, bottom bracket area, dropouts, chainstays and seatstays. Carbon frame damage can show up as:
- Paint cracks that continue across a tube or around a junction.
- A white or cloudy mark under clear coat after a sharp impact.
- A crushed, flattened, rippled or bulged section.
- Paint lifting at the edge of an impact.
- Loose fibers or a rough area where the laminate is exposed.
- A new sound when the area is lightly loaded.
Paint damage alone does not prove structural failure, but location matters. A scratch on an unloaded surface is one thing. Damage near the head tube, bottom bracket, seat cluster or dropout deserves more scrutiny because those areas transmit steering, pedaling, seated load and wheel retention forces.
A tap check can sometimes reveal a change in sound between healthy and damaged areas, but it is not a verdict. Use it as one input. Compare symmetrical sections where possible. If one chainstay sounds or feels different from the other after a direct hit, escalate the inspection.
Fork and steerer
The fork deserves one of the strictest thresholds on the bike. Inspect both blades, the crown, dropouts, brake mounts and the steerer area. Remove the front wheel so you can see the inner faces of the blades and the dropout surfaces.
The fork is not just another carbon part. It carries steering, braking and front wheel loads, and it has little margin for a rider to recover if it fails. A front-end hit can load the fork blades directly. A bar-twisting crash can load the steerer through the stem even if the fork blades look clean.
If there is visible cracking, deep gouging, unusual steering feel, headset movement that will not adjust correctly, or any concerning mark near the crown or steerer, do not ride it until it has been professionally checked.
Seatpost and seat cluster
Remove the seatpost if the crash involved the saddle or rear of the bike. Clean the post and inspect the clamping zone carefully. A saddle-first impact can load the saddle rails, post head, seatpost shaft, clamp hardware and seat cluster.
Before reinstalling, clean the inside of the seat tube as best you can, use the correct assembly paste if specified, and tighten according to manufacturer guidance. A post that slips after a crash may be telling you the clamp, post or frame interface has changed.
Wheels, bars and stems: hidden damage hotspots
Carbon wheel inspection is easy to under-prioritize because a damaged wheel can still spin. Start at the impact zone, then inspect the full rim. Look for cracks at the bead, spoke holes, valve hole and brake track if applicable. Check for sidewall cuts, tire casing damage and sealant leaks. Spin the wheel in the frame and watch for hop, wobble and brake rub.
For disc wheels, inspect the rotor, hub end caps and thru-axle seating. A rotor that rubs after a crash may be the obvious symptom, but the important question is whether the wheel, dropout or axle interface took the impact that bent it.
Handlebars are the part riders most often want to talk themselves into keeping. That is understandable, but it is not a smart place to economize. Carbon bars see high leverage from sprinting, descending, braking and road shock. A direct hit to the bar end, lever body, tops or drops can create damage under tape or clamp hardware.
Replace carbon handlebars when there is visible cracking, crushing, exposed fibers, a soft spot, a deep gouge, or a major impact at the lever or bar end. Be suspicious if the lever rotated hard enough to scar the bar or if the bar no longer holds the lever securely at normal clamp pressure.
The stem should be inspected for cracks, bent hardware, faceplate damage and steerer clamp issues. If the cockpit twisted, loosen the front end, inspect the contact points, then reassemble carefully using the correct torque sequence and manufacturer specifications.
What photos and ride notes to save after a crash
Good documentation makes better decisions possible later. Save clear photos before cleaning the bike, after cleaning, and after disassembly if you remove parts. Photograph the full bike from both sides, then close-ups of every impact point.
Useful notes include:
- Which side of the bike hit the ground.
- Whether the bike slid, flipped, struck an object, or was hit by another rider.
- Whether the drivetrain was forced sideways.
- Any new noises, shifting issues, brake rub, steering changes or saddle movement.
- Which parts were loosened, removed, replaced or adjusted afterward.
This is not only for warranty or insurance. It helps connect cause and effect. If a creak appears later near the bottom bracket, and your notes show the chainstay took a direct hit, you have a stronger starting point than vague memory.
When to get a professional carbon inspection
A professional carbon inspection is warranted when the consequence of being wrong is high or the evidence is unclear. That includes suspected fork, steerer, handlebar, rim, head tube, bottom bracket, seat cluster or dropout damage. It also includes any new sound under load that cannot be explained by a normal adjustment issue.
The value of a specialist is not magic. It is controlled inspection, experience with failure patterns, and a better chance of distinguishing paint trauma from laminate damage than a roadside look can provide. Some damage can be repaired safely. Some damage should not be repaired. Some components are better replaced because the cost of uncertainty is too high.
When you take the bike in, ask for specific output rather than a vague reassurance. You want:
- Documented findings, not just a verbal 'looks fine'.
- Photos of the inspected damage areas.
- A specific assessment of the fork, steerer, handlebar, rim and any other impact zone.
- A clear recommendation on whether each suspect component is repairable, replaceable, or safe to monitor.
- Notes on any parts that were removed, reinstalled, torqued, adjusted or replaced.
If a shop or carbon repair specialist tells you not to ride a component, treat that as a training decision, not just a maintenance decision. Losing a few sessions is frustrating. Riding a questionable front end because the next block matters is a poor risk calculation.
Ride, do not ride, or get it inspected
Use this decision framework after the roadside check and home inspection.
Ride cautiously
Ride only if the crash was minor, the bike tracks straight, steering and braking feel normal, wheels spin cleanly, and there are no cracks, soft spots, deep gouges, new noises or concerning marks on structural carbon parts.
Even then, the next ride should be conservative. Skip maximal sprints, hard descending and rough surfaces until the bike has behaved normally under basic load.
Do not ride
Do not ride if there is visible cracking, crushed carbon, exposed fibers, a soft spot, major wheel damage, abnormal steering, brake problems, headset play that will not adjust, or a direct hit to the fork, steerer, bar or rim that you cannot confidently clear.
This is the cleanest rule in the whole process: do not use the next ride as the diagnostic tool.
Get professional inspection
Get a professional inspection if the damage is near the fork, steerer, handlebar, rim, head tube, bottom bracket, seat cluster or dropout, or if the bike develops a new sound or handling change after the crash.
Uncertainty around a low consequence cosmetic mark can be monitored. Uncertainty around steering, braking, wheel retention or structural carbon should be resolved before riding.
Track repairs, replacements and future risk
Crash history should live with the bike. Create a simple maintenance log and record the crash, inspection findings, photos, parts replaced, torque-critical work, and any professional assessment. If you use Neverchill to track training decisions, link the maintenance event to the period around the crash so later performance or handling changes have context.
The same logic that applies to training data applies here: one isolated note may not mean much, but patterns matter. Repeated bar impacts, recurring headset play, a seatpost that keeps slipping, or a wheel that will not stay true after a crash are signals. They do not automatically condemn the bike, but they should raise the inspection threshold.
For riders building structured training around power, consistency is the asset. A compromised bike turns every hard session into a test of equipment instead of fitness. If you are using power targets, keep your equipment decisions as disciplined as your training decisions. Neverchill resources like the FTP glossary, FTP estimator, and power zones guide are useful only if the bike underneath you is sound.
If the crash was minor, the inspection is clean, and the bike rides normally, document it and move on. If there is doubt around a structural carbon part, stop riding it until the doubt is resolved.