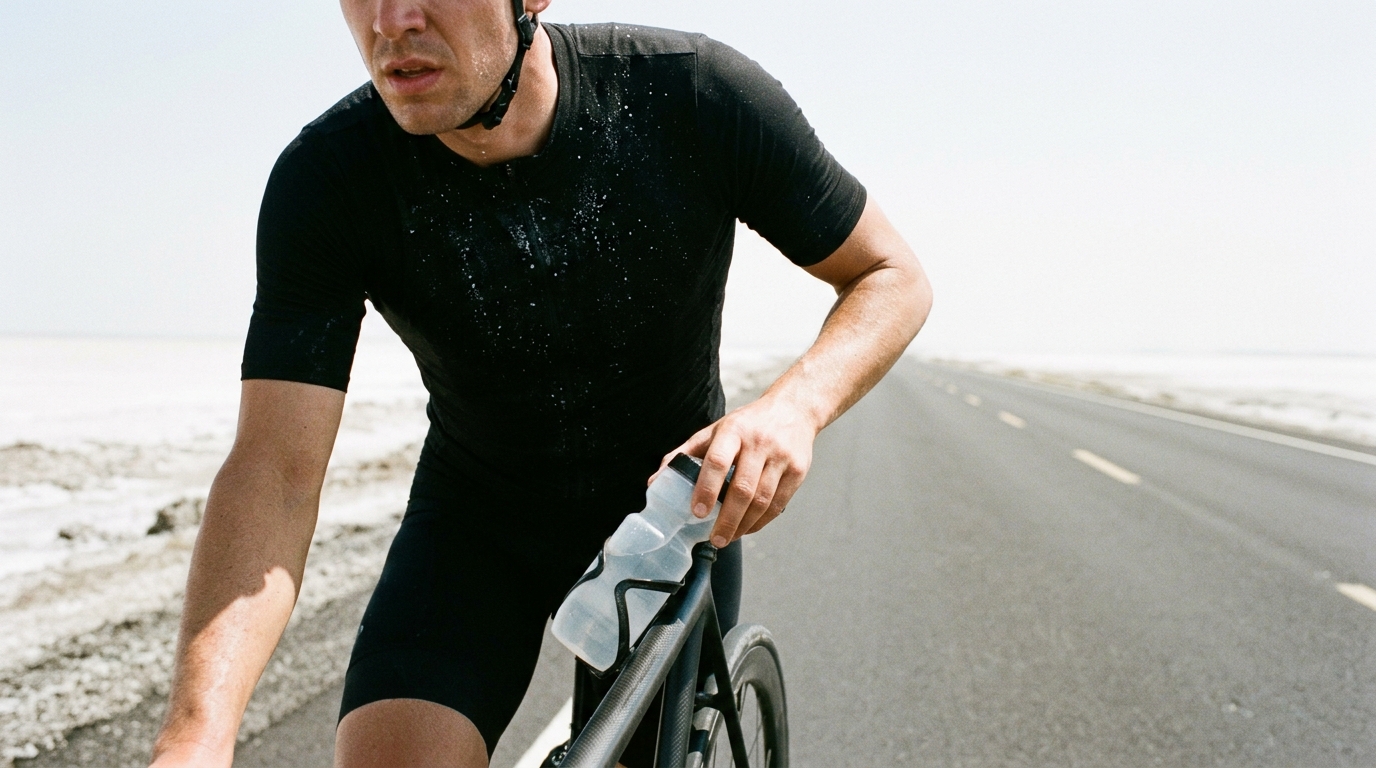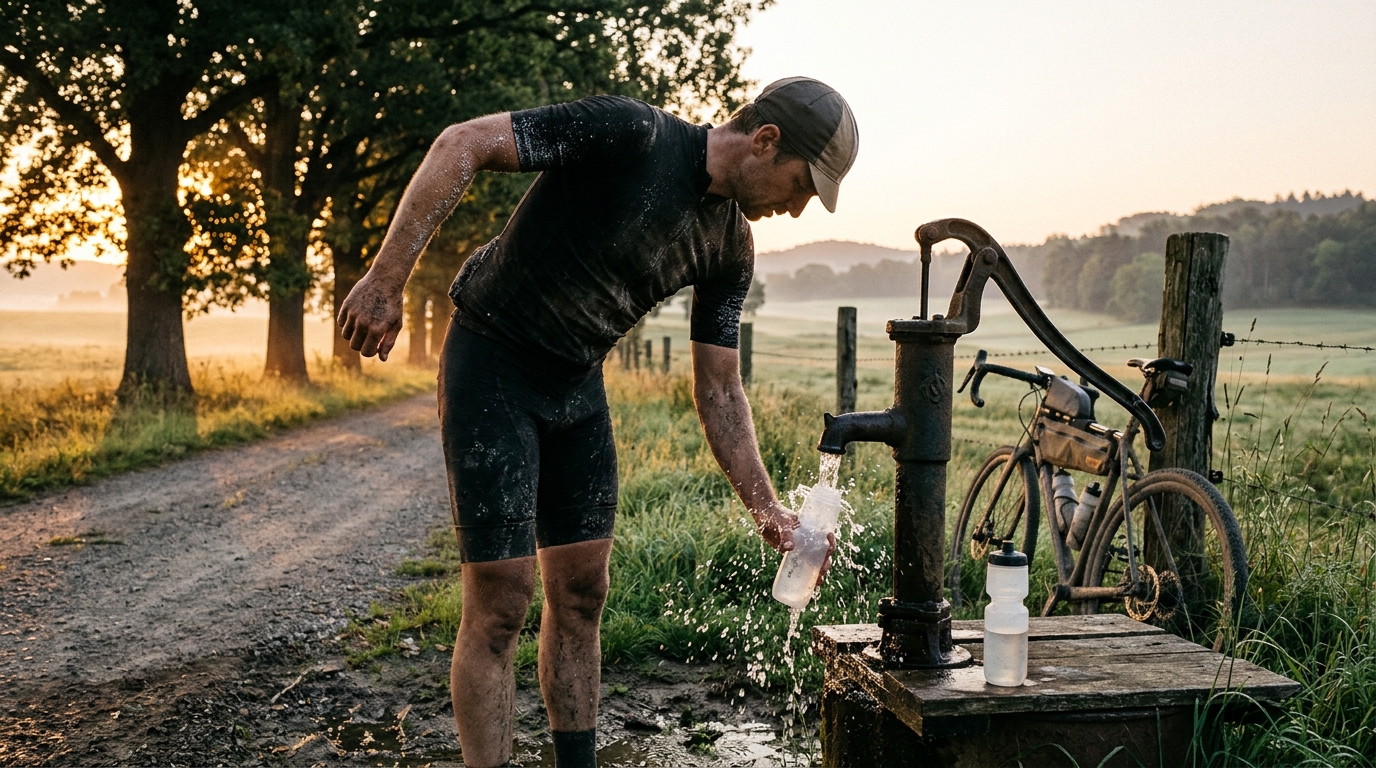
Image generated by our model.
hydration
Cycling Hydration: Sweat Rate and Sodium Needs
Build a practical cycling hydration plan by measuring sweat rate, setting bottle targets, testing sodium intake, and reviewing ride data.
Why Hydration Is a Performance Limiter
Cycling hydration is not just about comfort. It is a control system for power output, thermoregulation, gut function, and decision-making late in a ride.
When fluid loss climbs beyond what your body can manage, the cost of producing the same power rises. Heart rate drifts upward, perceived exertion climbs, and the legs can feel flat even when carbohydrate intake is on target. That is not because water is magic fuel. It is because reduced fluid availability makes it harder to move heat, maintain plasma volume, and keep blood flowing where it needs to go.
This matters most when the ride is long enough, hot enough, hard enough, or indoors enough for sweat loss to accumulate. A hydration plan for long rides should therefore be built around your own sweat rate cycling data, not generic bottle advice.
The goal is not to finish a ride at the same body mass you started with. The goal is to keep fluid and sodium loss from becoming the reason power falls apart before your fitness, fueling, or pacing have been fully expressed.
How to Measure Your Sweat Rate
Sweat rate is the anchor point. Once you know roughly how much fluid you lose in a given set of conditions, you can make rational decisions instead of guessing.
Use a controlled ride that resembles the type of riding you care about. If you want a plan for summer endurance rides, test in similar heat and intensity. If indoor training is the issue, test on the trainer with your normal fan setup.
The basic sweat rate process
- Weigh yourself before the ride, ideally with dry skin and minimal clothing.
- Record the amount of fluid you drink during the ride.
- Record any urine stops if relevant.
- Weigh yourself after the ride, again dry and in similar clothing conditions.
- Calculate sweat loss.
- Divide sweat loss by ride time.
Use this structure:
Sweat loss = body mass change + fluid consumed - urine produced
Sweat rate = sweat loss divided by ride time
Keep the units clean. Body mass change in kilograms can be treated as roughly liters of fluid for a practical field estimate. Fluid consumed should be recorded in liters. Urine produced, if any, should also be recorded in liters.
Worked sweat-rate example
Say a rider finishes a controlled indoor ride with these notes:
- Body mass before: 75 kg
- Body mass after: 73.8 kg
- Body mass change: 1.2 kg
- Fluid consumed: 0.8 L
- Urine produced: 0 L
- Ride time: 2 hours
Treat the 1.2 kg body mass change as roughly 1.2 L of fluid loss.
Sweat loss = 1.2 L + 0.8 L - 0 L
Sweat loss = 2.0 L
Sweat rate = 2.0 L divided by 2 hours
Sweat rate = 1.0 L per hour
That does not mean this rider should automatically drink 1.0 L per hour in every session. It means that, in those indoor conditions at that effort, the rider lost about 1.0 L per hour. That number becomes the starting point for a bottle plan.
Run more than one test
One test gives you a starting point. Several tests give you a usable range.
Build a simple note in your training log with:
- Outdoor or indoor
- Temperature feel, such as cool, mild, hot, or oppressive
- Humidity feel, especially dry heat versus sticky heat
- Ride type, such as endurance, tempo, threshold, or intervals
- Clothing and cooling setup
- Fluids consumed
- Body mass change
- Any signs of thirst, cramps, headache, gut discomfort, or unusual heart rate drift
After a few rides, patterns usually become obvious. Some athletes lose fluid aggressively indoors. Others handle cool endurance rides with little intake but struggle when humidity blocks evaporative cooling. The point is not to create a lab report. It is to turn messy ride experience into a decision-making tool.
Translating Sweat Rate Into Bottle Volume
The useful question is not, 'What is my sweat rate?' It is, 'How much of that loss should I try to replace during this ride?'
A practical starting range for many rides is to aim to replace a meaningful portion of measured sweat loss, not every drop. For example, if a tested ride shows 1.0 L per hour of sweat loss, a rider might begin by targeting roughly 0.5 to 0.8 L per hour during similar conditions, then review the outcome. That is a starting range, not a universal rule.
The right target depends on several constraints:
- Gut tolerance at the intended intensity
- Ride duration
- Heat and humidity
- Bottle access and refill options
- Whether carbohydrate is coming from bottles, food, or both
- Whether the course allows regular drinking
If the ride is short, cool, and low stress, drinking below measured sweat rate may be completely workable. If the ride is long, hot, or indoors, the same gap can become costly. If the target volume causes sloshing, nausea, or repeated bathroom stops, the plan is too aggressive or the sodium and carbohydrate concentration needs adjustment.
Work backward from the ride. If your target is 0.7 L per hour and the ride is expected to last several hours, the route needs enough fluid access to make that possible. If it does not, you either need larger capacity, refill points, a different concentration strategy, or a pacing adjustment. A plan that cannot be executed on the road is just a theory.
Estimating Sodium Needs Without Lab Testing
Sodium for cyclists is harder to calculate than fluid because sweat sodium concentration varies between riders and across conditions. Without lab testing, you cannot know the exact amount lost. But you can estimate whether your needs are likely low, moderate, or high enough to change bottle strategy.
Look for repeatable clues, not isolated anecdotes.
Signs you may need more sodium
You may sit toward the higher end of sodium needs if you repeatedly notice:
- Heavy salt marks on kit, helmet straps, or gloves
- Stinging eyes from salty sweat
- Skin that feels gritty after drying
- Strong salt cravings after long or hot rides
- Headaches after rides where fluid intake seemed reasonable
- Performance fade in heat despite adequate carbohydrate intake
- Frequent urination during rides where you are drinking a lot of plain water
None of these prove a precise sodium loss. They do suggest that plain water may not be enough, especially when sweat rate is high.
A cautious sodium starting framework
Use sodium concentration as a testable variable, not a fixed identity.
A practical way to start is to sort your strategy into low, moderate, or high sodium emphasis:
- Low sodium emphasis: cooler rides, lower sweat rate, few salt marks, stable thirst, and no pattern of headaches or late-ride fade when fluid and carbohydrate are adequate.
- Moderate sodium emphasis: longer rides, warmer conditions, visible salt residue, rising thirst, or better outcomes when bottles contain electrolytes rather than plain water.
- High sodium emphasis: heavy sweater patterns, strong salt residue, repeated salt cravings, headaches after hot rides, or frequent urination when drinking large volumes of low-sodium fluid.
This is not a lab-derived prescription. It is a starting framework for field testing.
To test it properly, keep the ride type similar and change one thing at a time. Use the same route or trainer session when possible. Keep carbohydrate intake similar. Keep target fluid volume similar. Then adjust the sodium concentration in the bottles and compare outcomes.
If a higher sodium strategy reduces thirst spikes, late-ride heart rate drift, post-ride headache, and bathroom stops without creating gut distress, it is probably moving you in the right direction. If it tastes harsh, causes nausea, or makes you avoid drinking, it is too much for that context even if it looks good on paper.
What sodium is doing in the plan
Cycling electrolytes are not there to create power directly. They help retain fluid, support thirst response, and replace some of what is lost in sweat. Sodium is the main electrolyte to pay attention to during riding because it is the one most connected to sweat loss and fluid balance.
This is also why the answer is rarely simply drink more. If you drink a lot of low-sodium fluid during a long, hot ride, you may increase stomach sloshing and bathroom stops without meaningfully improving hydration status. The better question is whether the fluid you are taking in matches the job it needs to do.
Building a Bottle Plan by Ride Duration and Intensity
A good bottle plan starts with three inputs:
- Expected sweat rate for the conditions
- Target fluid replacement range for the ride
- Expected carbohydrate needs for the session
- Sodium need category based on sweat clues and past outcomes
From there, separate the role of each bottle.
One bottle can carry carbohydrate. Another can carry a stronger electrolyte mix. Or both bottles can contain a combined drink mix if your gut tolerates it. The best setup is the one you can execute while riding at the intensity required.
Short, low-stress rides
For easy rides in cool conditions, hydration is often simple. Starting hydrated and drinking to thirst may be enough for many riders. If the ride is short and sweat loss is limited, there is little value in forcing a complex plan.
The mistake is carrying this relaxed strategy into harder or hotter sessions where losses accumulate faster.
Longer endurance rides
As duration increases, hydration becomes less about thirst in the moment and more about staying ahead of compounding losses. Thirst is useful, but it can lag behind need when the pace is steady and the ride is absorbing.
For these rides, use your sweat rate to choose a realistic hourly bottle target. You do not need to replace every drop you lose. You do need to avoid a steadily widening gap that turns the final part of the ride into survival.
Fuel and hydration should be planned together. If all your carbohydrate is in bottles, under-drinking means under-fueling. If you rely on solid food but forget sodium, you may hit the carbohydrate target while still fading from heat and fluid stress.
High-intensity rides and races
Intensity increases heat production. Even if the ride is not extremely long, hard efforts can push sweat rate up quickly. The practical issue is that drinking is harder during intensity. You have fewer calm moments, swallowing is less comfortable, and the gut is under more stress.
For these sessions, simplify execution. Use drink mixes you tolerate, preload the bike so you are not rationing from the start, and drink during lower-pressure sections instead of waiting until you feel desperate. If you are racing, the best hydration plan is the one that fits the course and tactics. A perfect spreadsheet that requires drinking during attacks is not a plan.
Adjusting for Heat, Humidity and Indoor Training
Heat raises the stakes because the body must move more heat away from working muscle. Humidity makes that harder because sweat evaporates less effectively. Indoor training can be even more deceptive because airflow is limited unless you create it.
Heat
In hot conditions, expect higher fluid demand and a greater need to pay attention to sodium. Start the ride already hydrated, carry enough fluid for the route, and avoid letting the first part of the ride create a deficit you cannot close.
Heat also changes pacing. If you try to ride normal power in abnormal conditions, hydration may get blamed for a pacing problem. Use perceived exertion and heart rate alongside power. If the body is working harder for the same watts, the plan should respond.
Humidity
Humidity is tricky because sweat can pour off the body without cooling you well. That means you can lose plenty of fluid while still overheating. In those conditions, more drinking helps only part of the problem. Clothing choice, pacing, route shade, cooling stops, and timing the ride matter too.
Indoor training
Indoor rides deserve their own sweat rate cycling test. A trainer session has reduced airflow, steady power, and fewer micro-coasting moments. That combination can create high sweat loss even in a room that does not feel extreme at the start.
Use fans aggressively, place bottles within reach, and track body mass change for key indoor workouts. If your indoor heart rate drifts sharply during steady power, hydration and cooling should be among the first variables you inspect.
Using Ride Data to Spot Hydration Problems
Hydration problems leave fingerprints in the data, but they rarely announce themselves as a single clean metric.
Look for clusters:
- Heart rate rising while power stays stable
- Perceived exertion rising faster than expected
- Power fading late despite adequate carbohydrate intake
- Unusual thirst or dry mouth
- Headache after the ride
- Heavy body mass loss compared with similar rides
- Urine that remains unusually dark after recovery
- Gut sloshing after drinking large amounts late
Heart rate drift is especially useful when interpreted carefully. A steady endurance ride should not feel like a threshold effort by the end unless terrain, wind, fatigue, heat, or hydration is pushing the system. If power is controlled and fueling is normal, hydration and cooling become likely suspects.
Use your training file as a question generator, not a courtroom verdict. If several hot rides show the same pattern, adjust one variable at a time. Increase fluid availability, change sodium concentration, improve cooling, or moderate intensity. Then compare similar rides.
This is where data-driven endurance athletes have an advantage. You do not need to copy someone else's bottle plan. You can test, observe, and iterate.
If you already track power and training load, connect hydration notes to intensity. A ride near FTP creates different heat and fueling demands than an easy aerobic spin. If you are unsure where your current zones sit, update your estimate with the FTP estimator and use that context when reviewing hydration outcomes.
How to Review Hydration After the Ride
The ride does not end when the file uploads. Review the plan while the details are still fresh.
Use this compact pass/fail check:
- Body mass change: Did the change look reasonable for the ride, or was it much larger than similar sessions?
- Thirst trajectory: Did thirst stay controlled, or did it become urgent late in the ride?
- Heart-rate drift: At stable power, did heart rate stay predictable, or did it rise more than expected for the conditions?
- Gut comfort: Did the drink plan sit well, or did you get sloshing, nausea, bloating, or avoidance of drinking?
- Urine color later in recovery: Did it normalize, or did it remain unusually dark after you had time to rehydrate?
- Next-day freshness: Did you feel normally recovered, or unusually flat, headachy, or depleted?
One failed signal does not prove the hydration plan was wrong. A cluster of failed signals, especially across similar rides, is actionable. Change one variable, such as bottle volume, sodium concentration, cooling, or pacing, then repeat the test.
Common Hydration Mistakes Cyclists Make
Waiting until thirst is urgent
Thirst is useful, but urgent thirst usually means the gap has already opened. On longer rides, drink early enough that intake feels routine rather than reactive.
Using one plan for every condition
A cool endurance ride, a hot group ride, and an indoor threshold session are different hydration problems. Your plan should change with sweat rate, intensity, and cooling.
Drinking more plain water without sodium
More fluid is not always better if it lacks the sodium needed to help retain it. This is especially relevant for salty sweaters and riders doing long sessions in heat.
Ignoring the gut
The gut has to process the plan. Very concentrated bottles may deliver carbohydrate and sodium efficiently on paper, but if they cause nausea or sloshing at race intensity, the plan fails. Test during training, not on the target day.
Separating fueling from hydration too much
Carbohydrate, fluid, and sodium interact during real rides. If your calories are mostly in bottles, missed drinking means missed fueling. If your calories are mostly in food, you still need a fluid and sodium plan.
Forgetting post-ride review
Body mass change, thirst, headache, appetite, urine color, gut comfort, heart-rate drift, and next-day freshness all help judge whether the plan worked. A hydration strategy improves when you close the loop.
A Practical Starting Framework
Build your cycling hydration plan like this:
- Measure sweat rate in the conditions you actually ride.
- Convert sweat rate into a realistic ride-specific bottle target.
- Categorize sodium needs using repeatable sweat clues and ride outcomes.
- Decide what each bottle is responsible for: fluid, carbohydrate, sodium, or a mix.
- Adjust for heat, humidity, and indoor airflow.
- Review ride data for body mass change, heart-rate drift, gut issues, thirst, urine color, and recovery signals.
- Change one variable at a time and retest.
The riders who handle heat and long rides well are not guessing better. They have fewer surprises because they have converted experience into a system.
Cycling hydration is not about chasing perfect replacement. It is about knowing your losses, setting an executable plan, and using the ride afterward to make the next one more precise.