indoor training
Indoor Cycling Cooling: Fan Setups That Hold Power
A practical guide to indoor cycling cooling: fan placement, heat drift signals, hydration checks, and a simple protocol to test your setup.
Why indoor rides overheat faster than outdoor rides
Indoor cycling cooling is not a comfort upgrade. It is a performance control system.
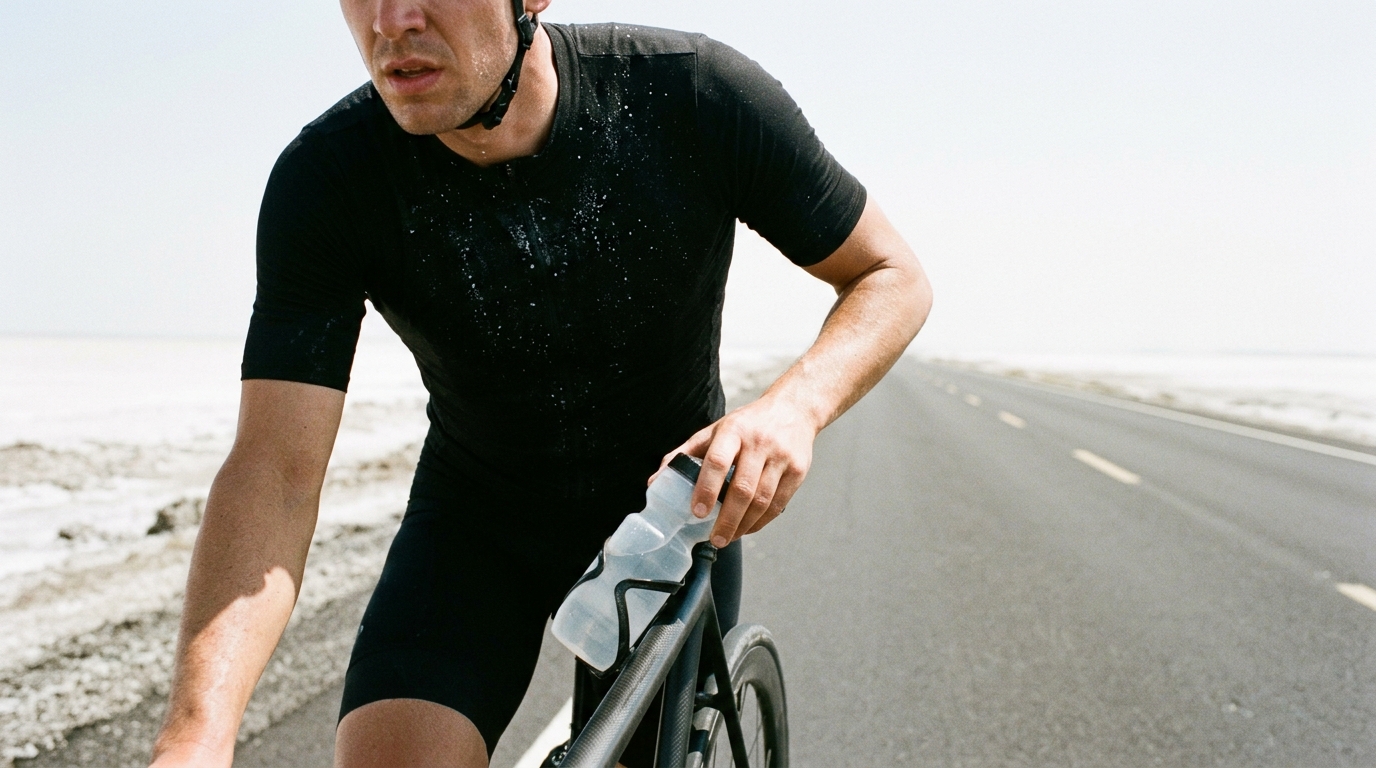
Outside, even a steady endurance ride creates constant airflow over the skin. That airflow helps move heat away from the body and lets sweat evaporate. Indoors, the trainer removes that natural cooling effect. The room may feel comfortable when you start, but once power rises and sweat rate climbs, the environment around your body can become a warm, humid pocket of air.
That matters because your ability to produce power is tied to your ability to manage heat. When cooling is poor, more blood is diverted toward the skin to help dump heat. That leaves less available for working muscle at the same internal demand. The result is familiar to anyone who has watched a controlled indoor interval session slowly unravel: power feels harder, heart rate rises, cadence becomes less natural, and the last efforts require more mental force than the prescription suggests.
The key point is that the trainer is not necessarily exposing a fitness problem. The room may be changing the cost of the work.
How poor cooling changes power, heart rate and RPE
Poor smart trainer cooling usually shows up in a predictable sequence.
First, heart rate climbs at a power output that normally feels stable. Then breathing feels heavier, even if the target power has not changed. Next, perceived exertion rises faster than expected. Finally, power begins to fade, or you start bargaining with the workout by lowering cadence, standing more often, extending recoveries, or skipping the last interval.
This is indoor training heat drift. It is not the same as normal fatigue, though the two can overlap. Fatigue is the cost of doing the work. Heat drift is the extra cost of doing that work in an environment that is not clearing heat fast enough.
A simple way to think about it:
- If power is stable but heart rate and RPE keep climbing, cooling may be limiting the session.
- If heart rate is stable but power falls, muscular fatigue or fueling may be the bigger issue.
- If both heart rate rises and power falls, you are likely seeing combined fatigue, heat load, and possibly hydration stress.
This distinction matters because the solution changes. If the limiter is heat, forcing the target does not make the workout better. It turns controlled aerobic or threshold work into a less precise survival effort.
For athletes using FTP-based training zones, cooling quality affects whether the prescribed zone is actually the zone being trained. A threshold interval done in a hot room can become a cardiovascular strain session with poor power quality. That is not automatically bad, but it is different from what the workout intended.
What to track: temperature, HR drift, sweat pattern and power fade
You do not need a lab to diagnose indoor cooling. You need repeatable observations.
Start with four markers.
Room temperature
Track the room condition at the start of the session and notice how it feels by the main set. The exact number is less important than consistency. A room that is manageable for an easy spin may be too warm for threshold work, especially if the door is closed and air is not being replaced.
If possible, keep the room consistent when comparing workouts. Otherwise, you may blame fitness for what is really a different environment.
Heart rate drift indoors
Heart rate drift indoors is one of the clearest signs that cooling is underbuilt. During a steady endurance block, heart rate should not climb aggressively if power, cadence, fueling, and fatigue state are controlled.
Some drift is normal. The concern is when the rise is obvious, persistent, and paired with rising discomfort at a workload you normally handle well.
Use your training platform or head unit to compare similar sessions. If the same endurance power produces a noticeably higher heart rate indoors than outdoors, airflow is one of the first variables to inspect.
Sweat pattern and clothing saturation
A high sweat rate is not the same as good cooling. Sweat only helps if it evaporates. If sweat is pooling on the floor, dripping off your arms, or soaking clothing quickly, the room may be humid or the fan may be moving air to the wrong places.
The practical question is not whether you sweat. It is whether the sweat is evaporating fast enough to remove heat.
A fan that blasts your face but leaves your torso in stagnant air may feel useful while still failing the performance test.
Power fade
Power fade is the final warning light. If you can hit the first efforts but not the later ones, review the whole context before calling it poor fitness. Look at cooling, hydration, fueling, sleep, and workout design.
The most useful comparison is repeatable: same bike, same trainer, same workout type, similar fatigue state, different fan setup. If power holds better when airflow improves, you have your answer.
Fan placement: front, side and torso airflow
A good cycling fan setup moves air across the areas that produce and store heat, not just the areas that feel nice.
Front airflow
Front airflow is the baseline. Place a fan in front of the bike so air reaches the face, chest, and arms. This helps breathing comfort and sweat evaporation across visible, high-sweat areas.
The mistake is pointing the fan too high. If most of the air hits your head and misses your chest, the setup feels dramatic but underperforms. Aim the airflow through the upper body, not just at the face.
Side airflow
Side airflow helps break up the stagnant air that builds around the torso. It is especially useful when riding in a narrow room, garage corner, or space with poor air exchange.
A side fan should cross the body rather than simply hit the legs. The goal is to move warm, humid air away from the skin. If your jersey or base layer stays soaked while the fan is running, side airflow may be missing or misdirected.
Torso airflow
The torso is often the limiting area indoors. It produces a lot of heat, holds sweat under straps and clothing, and receives less airflow if the fan is aimed like a headwind simulator.
For harder sessions, prioritize the torso. A fan that reaches the chest, ribs, and abdomen will usually improve power stability more than one aimed only at the face. If you use aero bars indoors, check this again, because your body position changes the airflow path.
Air replacement matters
Fans move air. They do not automatically replace air.
If the room is sealed, fans can end up circulating increasingly warm, humid air. Open a door, use a window when conditions allow, or create a path for air to leave the room. The best fan setup is weakened if the room turns into a closed heat box.
Practical fan setup checklist
Use this as a starting point, then refine it with your own testing. The goal is not maximum discomfort from cold air. The goal is stable output, manageable heart rate, and sweat that can evaporate.
Small room or spare bedroom
- Fan height: set the main fan around handlebar to chest height, not high enough to miss the torso.
- Target body area: aim through the face, chest, forearms, and upper abdomen.
- Add a second fan when: the jersey stays soaked, heart rate drifts more than expected, or the room feels heavy during the main set.
- Door or window: open the door early if the room has limited air volume. Use a window when outside conditions help rather than add heat or humidity.
- Log after the ride: start room temperature, whether the door was open, fan direction, clothing saturation, and whether discomfort rose sharply late.
Garage, basement or utility space
- Fan height: keep one fan low enough to hit the torso in the riding position, not just the head when standing next to the bike.
- Target body area: prioritize chest, ribs, abdomen, and arms. Legs matter less than the upper body for most indoor overheating problems.
- Add a second fan when: airflow feels strong from the front but sweat still collects on the torso or the air around the bike feels stagnant.
- Door or window: create an air path if possible. A cracked door on one side and an opening on another side usually works better than a sealed room with stronger fan speed.
- Log after the ride: fan positions, whether air was being replaced, perceived room humidity, and whether power control improved in the back half.
Easy recovery or endurance ride
- Fan height: use light to moderate airflow aimed at the upper body.
- Target body area: face, chest, and arms are usually enough if the room is cool and ventilated.
- Add a second fan when: heart rate climbs out of proportion to the effort or sweat stops evaporating.
- Door or window: open one if the room warms through the ride.
- Log after the ride: average heart rate trend, RPE at the end, and whether the ride felt limited by heat rather than legs.
Tempo, threshold or high-intensity intervals
- Fan height: start with the main fan aimed through the torso while you are in your normal riding position.
- Target body area: chest, ribs, abdomen, arms, and face. For harder work, torso coverage usually matters more than face-only airflow.
- Add a second fan when: the main set produces rising RPE without a change in power, breathing becomes disproportionately labored, or sweat is dripping faster than it can evaporate.
- Door or window: open before the main set if the room tends to trap heat. Do not wait until the final intervals if the goal is quality work.
- Log after the ride: interval completion, heart rate in the first half versus second half, RPE at the end, sweat evaporation, and any late power fade.
When to add more airflow versus lowering workout intensity
The decision is simple: if the workout target is appropriate but heat is distorting the effort, add airflow. If the target is inappropriate for your current fatigue, lower the intensity.
Add more airflow when:
- Heart rate rises unusually at steady power.
- RPE climbs faster indoors than outdoors for the same zone.
- Sweat is not evaporating well.
- You can complete the workout better with brief cooling breaks.
- Performance improves quickly when a door opens or fan direction changes.
Lower workout intensity when:
- Legs are heavy from the start.
- Power feels unsustainable before body heat has built up.
- You are under-fueled or under-recovered.
- Cooling is already strong and the failure pattern looks muscular rather than thermal.
- The session goal can be preserved by reducing the target slightly.
This is where discipline matters. Indoor training rewards precision, but precision does not mean blindly holding the number. If poor cooling turns a controlled tempo ride into a maximal grind, the workout is no longer training the same system.
For structured work tied to an FTP estimate or FTP zones, protect the intent. If the goal is sustainable aerobic pressure, improve the environment first. If the environment is solid and the body is not responding, adjust the workout.
Hydration and sodium checks for indoor sessions
Cooling and hydration are linked, but they are not interchangeable. Drinking more does not fix bad airflow. Better airflow does not eliminate the need to drink.
Indoor sessions often produce heavy sweat because evaporation is limited and the body keeps pushing fluid to the skin. If sweat loss is high and fluid intake is low, heart rate can drift more, perceived exertion can rise, and power can become harder to hold.
Use these checks.
Start hydrated, not overloaded
Do not begin the ride already behind. Pale urine and normal thirst are useful practical signs, but avoid forcing excessive fluid right before the session. A sloshing stomach can compromise high-intensity work.
Match fluid to the session
Easy spins in a cool room need less attention than long indoor endurance rides or hard interval sessions. As intensity and duration rise, hydration becomes part of execution, not an afterthought.
Use sodium when sweat loss is obvious
If your kit is crusted with salt, sweat stings your eyes, or you finish indoor rides feeling flat despite drinking, sodium may be part of the issue. The goal is not to chase an extreme intake. It is to avoid replacing meaningful sweat losses with plain water only.
Optional body-mass check
If you want a clearer estimate of fluid loss, weigh yourself before and after selected indoor rides under similar conditions. Keep the method consistent: similar clothing state, same scale, and the same point in the routine each time.
Treat the change as an estimate, not a prescription for exact replacement. Body mass can shift for reasons beyond sweat, and the goal is not to force fluid back in one-for-one. The value is pattern recognition. If similar rides consistently leave you much lighter, with rising heart rate and poor late-session control, hydration deserves more attention alongside cooling.
Separate thirst from cooling failure
If you are drinking steadily but still overheating, the problem is probably airflow or room ventilation. If airflow is strong but heart rate keeps drifting and you feel depleted, hydration and fueling deserve a closer look.
For longer trainer sessions, pair hydration with carbohydrate availability. Heat stress makes the session feel harder, and low fuel makes that harder effort less productive.
How to test whether your cooling setup is working
The best test is not whether the fan feels strong at the start. The test is whether power, heart rate, and RPE stay aligned deep into the session.
Use a repeatable indoor workout that you know well. A steady endurance ride or controlled tempo session is better than an all-out interval day because the signal is cleaner.
Simple comparison protocol
Run the test across comparable rides. Change only one cooling variable at a time.
Keep the following as consistent as possible:
- Same workout or same main set.
- Same time of day if possible.
- Similar fatigue state going in.
- Same bike, trainer, and riding position.
- Same fueling approach before and during the ride.
- Similar clothing.
Record these fields:
- Start room temperature.
- Door and window status.
- Fan count, fan height, fan direction, and target body area.
- Average power for the first half and second half of the main work.
- Average heart rate for the first half and second half of the main work.
- RPE at the end.
- Sweat evaporation notes: dry patches, soaked jersey, pooling sweat, or dripping arms.
- Any power fade, cadence changes, extra recoveries, or skipped work.
- Optional pre-ride and post-ride body mass, clearly marked as a fluid-loss estimate.
Step one: establish a baseline
Ride with your current fan setup. Track power, heart rate, RPE, room feel, and sweat pattern. Note when discomfort begins to rise. Do not change everything mid-ride unless safety or completion requires it.
Step two: change one airflow variable
On the next comparable session, adjust one thing. Move the front fan lower. Add side airflow. Open a door. Shift airflow from face-only to torso-focused. Keep the workout and pacing similar.
Changing one variable keeps the lesson clear. If the ride improves, you know what helped.
Step three: compare the back half
The back half of the ride tells you more than the warm-up. Good cooling shows up as steadier heart rate, calmer breathing, better power control, and less late-session bargaining.
You are looking for a setup where the prescribed power still matches the intended effort near the end of the workout. Not easy, but controlled.
Step four: build a cooling hierarchy
Once you test, create a default setup for each session type.
- Recovery ride: light airflow, enough to avoid unnecessary heat buildup.
- Endurance ride: front and torso airflow, room ventilation if needed.
- Tempo or threshold: strong torso airflow, side airflow, and active room air exchange.
- High-intensity intervals: maximum practical airflow from the start, not after you are already overheated.
The timing matters. Starting fans late can make sense for heat acclimation work in specific cases, but for most performance-focused indoor sessions, cooling should be active before the main set. Once heat load is high, it is harder to bring the body back under control without reducing power.
The practical takeaway
Indoor cooling changes the physiological cost of the same wattage.
If your indoor rides consistently show heart rate drift, rising RPE, heavy sweat accumulation, and late power fade, test the environment before assuming the target is wrong. Start with torso airflow, add side movement when sweat is not evaporating, make sure the room can exchange air, and match hydration and sodium to the sweat you are actually producing.
The goal is not to make indoor training feel easy. The goal is to make the session match its purpose: stable endurance work when endurance is prescribed, controlled pressure when tempo or threshold is prescribed, and high-quality efforts when intensity is the point.