Image generated by our model.
cycling data
Cycling Elevation Data: Fix Bad Gain and Grade
Bad climbing numbers usually come from altitude noise, pressure drift, or app correction choices. Here is how to clean up cycling elevation data.
Why cycling elevation data goes wrong
Cycling elevation data looks simple on the surface. You ride up, you ride down, the file reports total gain, grade, and climbing pace. But anyone who compares a head unit, watch, phone app, and route planner knows the same ride can produce different numbers.
That is not because one platform is lying. It is because elevation is not measured in one clean way.
Your device can estimate altitude from satellite positioning, air pressure, a mapped elevation model, or some blend of those sources. Each method has a different failure mode. Then apps apply their own smoothing, filtering, and elevation correction. By the time the ride appears in your training log, the climbing total is not a raw fact. It is an interpretation of a noisy signal.
For data-driven endurance athletes, that matters. Bad elevation gain can make a ride look harder than it was, hide the true cost of a climbing day, distort route planning, and make climb performance hard to compare. The fix is not to obsess over a perfect number. The fix is to understand where the error entered the file, then decide whether to correct it or leave it alone.
Why elevation gain differs between apps and devices
Two riders can complete the same route and upload to the same platform, yet see different climbing totals. That usually comes from a few linked sources.
First, the recording device matters. A head unit with a barometric altimeter behaves differently from a phone relying more heavily on GPS altitude. A watch on a wrist can also see different pressure and GPS conditions than a unit mounted on the bars.
Second, smoothing rules matter. Total elevation gain is not simply the difference between the lowest and highest point. It is the sum of many small upward changes. If a file has noisy altitude points, the app has to decide which bumps are real and which are just signal chatter. A strict filter may remove real little rises. A loose filter may count noise as climbing.
Third, post-processing matters. Some platforms replace the recorded elevation with map-based elevation correction. Others preserve the device file unless you manually apply correction. That means one app may be reading your barometric file, while another is comparing the GPS track to an elevation model and rebuilding the altitude profile.
This is why complaints about wrong elevation gain often have no single culprit. The ride file is a chain. The device records, the firmware smooths, the app interprets, and the platform may correct. A bad number usually means one link in that chain was poorly suited to the ride conditions.
GPS altitude vs barometric altimeters
GPS altitude and barometric altitude both solve the same problem, but they fail in different ways.
GPS altitude comes from satellite positioning. It is convenient because it does not need a pressure sensor or calibration. But vertical position is generally more vulnerable to noise than horizontal position. Tree cover, urban canyons, steep valley walls, body position, device orientation, and poor satellite geometry can all make altitude wander even when your road position looks accurate.
That wander becomes a problem because total gain is cumulative. Small false rises can be added repeatedly across a ride. The file may not show an obvious mountain-shaped mistake, but the final climbing total can still be inflated.
A barometric altimeter cycling computer uses air pressure to infer altitude. When pressure drops, the device reads higher altitude. When pressure rises, it reads lower altitude. On a stable day, this is often cleaner than GPS altitude because it captures smooth climbing changes without reacting as much to satellite noise.
But barometric sensors have their own weaknesses. Weather changes can shift pressure during a ride. Sweat, dirt, rain, blocked sensor ports, or moving the device between temperature environments can cause drift. Starting with the wrong altitude can also offset the entire file. The shape of the climb may still be useful, but the absolute elevation can be wrong.
A practical way to think about it: GPS altitude is prone to jagged noise. Barometric altitude is prone to drift. Noise inflates gain through repeated false bumps. Drift can tilt the whole profile or create a slow mismatch between start and finish.
How grade is calculated and why it lags on steep roads
Grade is not measured directly in most cycling files. It is calculated from the relationship between vertical change and horizontal distance. If the altitude signal is noisy, the grade will be noisy. If the device smooths heavily, the grade will be delayed.
That lag is most noticeable on steep or constantly changing roads. You hit a ramp, your legs feel the resistance immediately, but the head unit may take a moment to show the new grade. Then you crest or hit a flatter section, and the screen may continue reporting the previous pitch.
This is not just annoying. It can affect pacing if you ride by screen grade instead of feel and power. On punchy climbs, GPS grade accuracy is limited by the fact that the device needs enough distance and altitude change to calculate a stable value. Short changes in pitch happen faster than the display can confidently resolve them.
Power is usually the better real-time pacing tool. Grade helps explain why power feels different, but it is not the best primary control metric. If your goal is climb pacing, anchor the effort to power, breathing, and cadence, then use grade as context. For more on power anchors, see FTP and the FTP estimator.
Pre-ride setup for cleaner files
Cleaner cycling elevation data starts before the ride. You do not need a complicated ritual, but a few habits reduce avoidable errors.
Let the device settle
Turn on the head unit before rolling and give it time to acquire a stable position. Starting immediately while the device is still resolving location can create a messy opening section. That early noise can affect both the ride profile and total gain.
Calibrate known start altitude when possible
If your device supports manual altitude calibration, set it at a known start point before important climbing rides or tests. This is most useful when you care about comparing repeated efforts on the same climb or validating route planning.
The key is consistency. Calibrating sometimes and ignoring it other times can make files look different even when the rides are similar. If you use barometric altitude seriously, build calibration into the same pre-ride workflow as pairing sensors.
Keep the pressure port clear
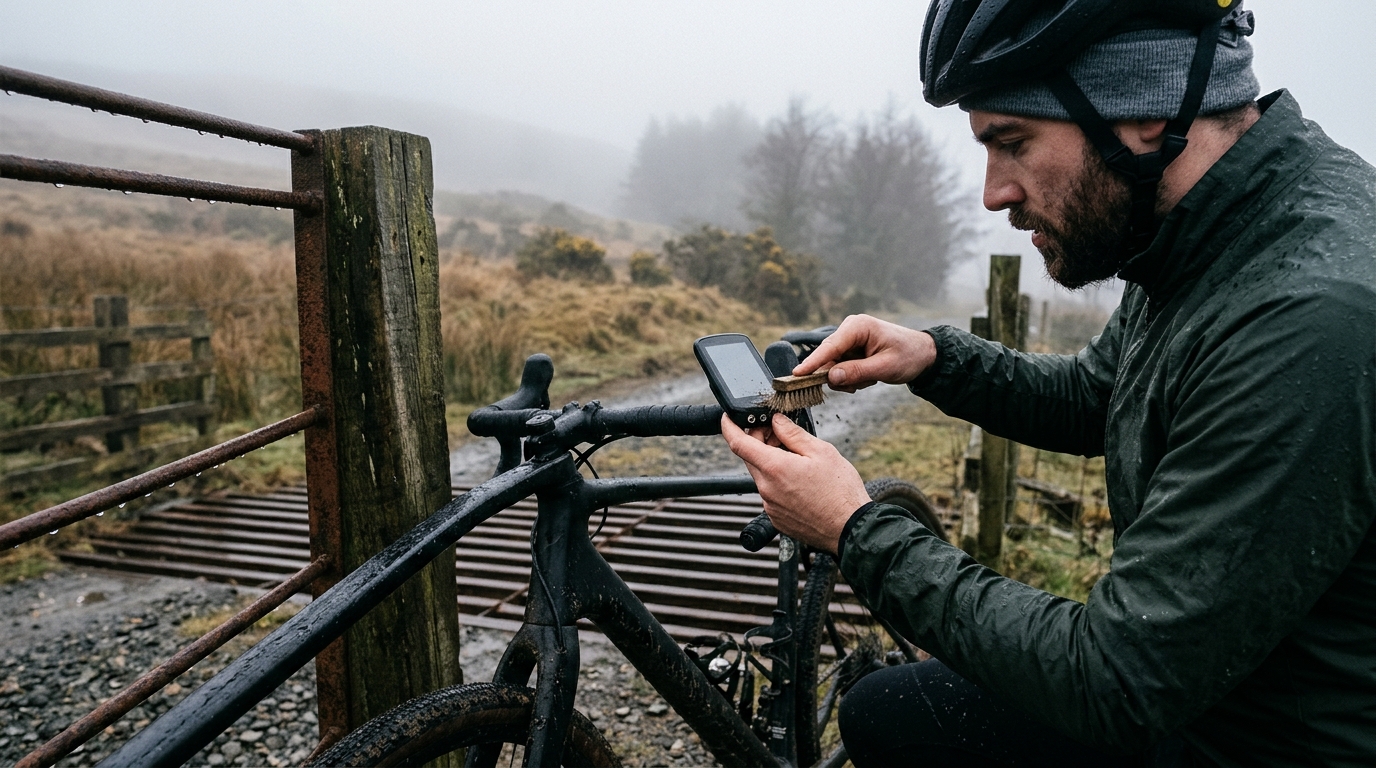
For barometric devices, the pressure sensor needs clean exposure to ambient air. If the port is blocked by dirt, water, a case, or sweat, the device may respond slowly or drift. After wet or dusty rides, clean the unit gently according to the manufacturer guidance and make sure nothing is covering the sensor area.
Avoid comparing different device types casually
If one ride was recorded on a watch and another on a head unit, do not over-interpret small differences in climbing totals. The files may reflect device behavior as much as route reality. For performance analysis, repeated measurement with the same setup is usually more useful than chasing the theoretically perfect value.
Post-ride checks for spikes and drift
After the ride, look at the elevation profile before trusting the number. You are not trying to audit every point. You are looking for patterns that clearly do not match the road.
Signs of bad elevation spikes
A spike is a sudden jump up or down that does not fit the terrain. On the profile, it may look like a needle, a cliff, or a sharp V-shaped error. These often come from GPS altitude glitches or sensor interruptions.
Spikes can inflate total gain because the file may count the false climb and then count the return to normal as part of the profile sequence. If a short flat section suddenly looks like a wall, the gain number is probably compromised.
Signs of barometric drift
Drift is more subtle. The whole ride profile may gradually rise or fall even though the route should return to the same start point. On loops, the easiest check is whether the start and finish altitude are reasonably aligned. If they are not, pressure changes or sensor issues may have tilted the file.
Drift does not always ruin climb analysis. If you are analyzing a single climb segment, the internal shape may still be serviceable. But for total elevation gain, drift can push the file away from reality, especially when combined with smoothing decisions.
Check against effort and speed
Elevation data should make physiological sense. If the file shows a hard climb but your power, heart rate, speed, and perceived effort all suggest easy terrain, be skeptical. Conversely, if a section felt like a sustained climb and the elevation barely moves, the file may have under-read the ascent.
This does not mean effort proves elevation. Wind, surface, drafting, and fatigue also affect cost. But when the elevation trace conflicts with every other signal, it deserves a closer look.
What to do in Strava, Garmin Connect, Wahoo, or TrainingPeaks
When elevation looks wrong after upload, do not start by comparing totals across apps. Start by finding out whether the platform is using the device-recorded elevation or applying its own correction.
In platforms such as Strava, Garmin Connect, Wahoo, and TrainingPeaks, the practical choice is usually the same: keep the original file if it came from a calibrated barometric device and the profile looks plausible, but use elevation correction or recalculation when the file is GPS-only, visibly spiky, or clearly mismatched to the route.
If one app shows a very different climbing total from another, check the correction setting before assuming either number is right. The disagreement often comes from processing, not from the ride itself. For training analysis, the most important decision is not which app gives the bigger number. It is whether you are using the same elevation source consistently over time.
When to use elevation correction tools
Elevation correction is useful when the recorded altitude is clearly worse than the platform's map-based elevation model. It is especially helpful for GPS-only files with jagged vertical noise or rides where the device produced obvious spikes.
Use correction when:
- The elevation profile contains impossible-looking spikes
- A loop finishes at a very different altitude than it started without a good explanation
- The device lacked a barometric sensor and the GPS altitude looks noisy
- You need a cleaner route-level climbing estimate for planning
- You are comparing routes rather than validating one exact device file
But elevation correction is not automatically better. Map-based models have limitations too. They may smooth terrain, miss road-specific details, struggle near bridges or tunnels, or represent ground elevation rather than the exact path your bike followed.
Leave the original data alone when:
- A calibrated barometric device produced a smooth, plausible profile
- You are comparing repeat efforts recorded with the same setup
- The correction changes a realistic file into something that does not match the ride
- You need consistency more than theoretical accuracy
The best rule is simple: correct obvious bad data, but do not overwrite clean barometric files just because a button exists. Consistency is a performance analyst's friend.
Decision guide by file type
Use the file type to decide what to trust after a ride.
- GPS-only file: inspect the profile for jagged changes, spikes, and unrealistic climbing on flat terrain. If the shape looks noisy, apply elevation correction and treat the corrected total as a cleaner estimate, not a perfect truth.
- Calibrated barometric file: if the profile is smooth and the ride matches the terrain, keep the original. Correction can make a good file worse if the map model smooths or misreads the road.
- Loop with start and finish mismatch: if the route should return to the same place but the file finishes noticeably higher or lower, suspect pressure drift, sensor blockage, or a bad initial altitude. Correction may help, but also check whether the climb shapes still make sense.
- Route-planning estimate: treat planned elevation as a pacing and gearing input, not a post-ride verdict. If the ridden file differs from the plan, compare the recorded track, correction settings, and route surface before changing your training conclusions.
This split matters because each file type has a different failure mode. GPS-only data usually needs protection from noise. Barometric data usually needs protection from drift. Planned routes usually need protection from false confidence.
How bad elevation data affects climbing analysis
Bad elevation data does not just make a ride recap messy. It changes how you interpret performance.
If climbing gain is inflated, the ride can look like a bigger endurance load than it really was. That may lead you to over-credit the training stimulus or misunderstand why you felt fresh afterward. If gain is undercounted, a difficult ride may look ordinary, which can make fatigue seem unexplained later.
Grade errors also distort climb pacing analysis. A file with lagging or noisy grade can make it seem like power varied irrationally when the road actually changed. On steep ramps, the rider may have paced correctly by feel, while the displayed grade makes the effort look poorly matched to terrain.
For climb benchmarking, altitude quality matters because vertical gain is part of the performance context. If two efforts on the same climb were recorded with different devices, different correction settings, or obvious drift, be careful about comparing them too tightly. Power, elapsed time, wind exposure, surface, and pacing still matter, but the elevation file sets the terrain frame.
The same issue shows up in route planning. If a route planner underestimates climbing, the ride may require more fueling, lower gearing, and more conservative pacing than expected. If it overestimates climbing, you may over-prepare or avoid a route that is actually manageable. Elevation is not just a bragging metric. It influences equipment, nutrition, and intensity distribution.
A practical workflow for cleaner elevation data
For most athletes, the goal is not laboratory precision. The goal is reliable enough data to make better decisions.
Use this workflow:
- Record important rides with the same primary device whenever possible
- If using a barometric altimeter, calibrate before climbing-focused rides
- Let the device acquire a stable signal before starting
- Keep sensor ports clean and unobstructed
- After the ride, inspect the elevation profile before trusting total gain
- Identify the file type before deciding whether to correct it
- Correct files with obvious GPS spikes or pressure drift
- Preserve clean barometric files when they are plausible
- Avoid comparing climbing totals across platforms without checking correction settings
This approach keeps the focus where it belongs. Elevation data should support training analysis, not become a separate source of confusion. When the file is clean, use it. When it is obviously broken, correct it. When two platforms disagree, look at how the number was produced before deciding which one to trust.
Good cycling elevation data is not perfect data. It is data with known limitations, handled consistently. That is enough to make better calls about climbing performance, route demands, and the true cost of a hard day in the hills.