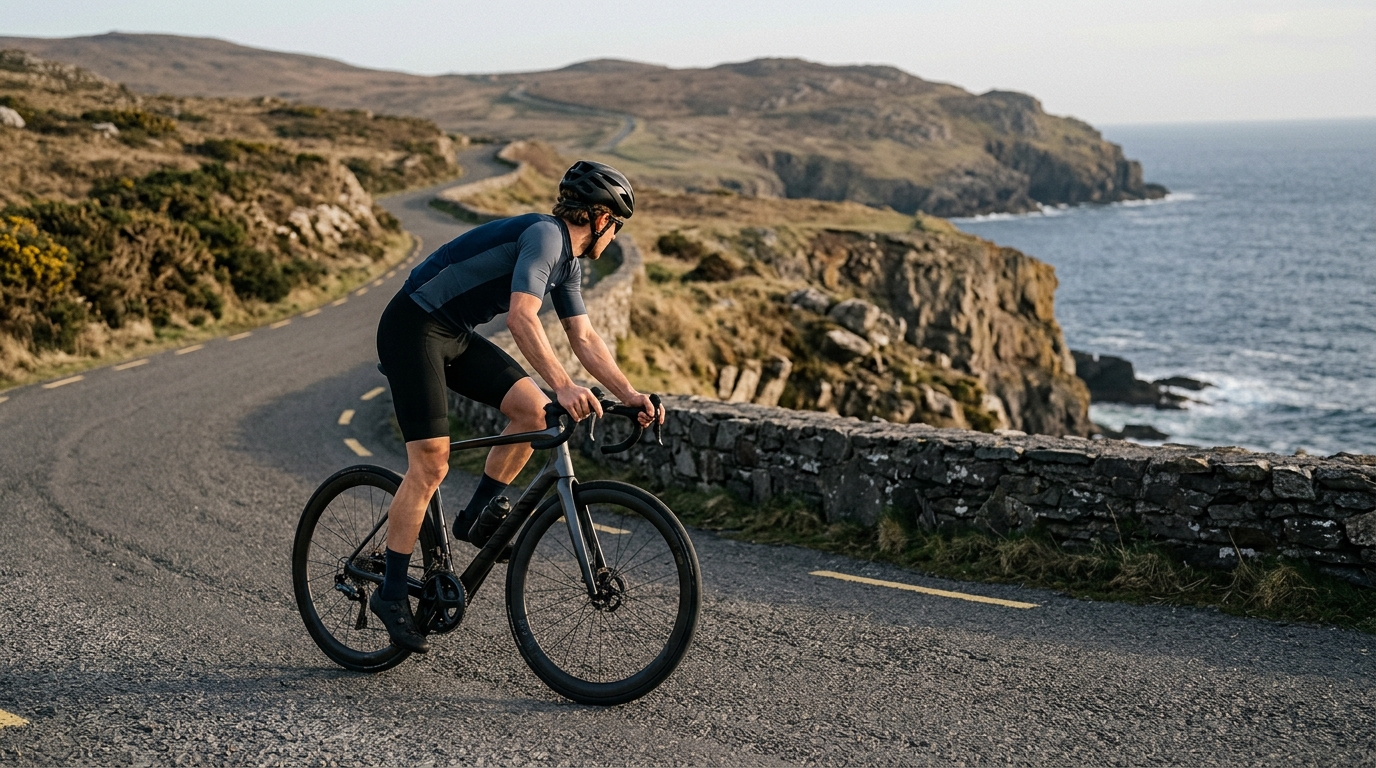
Image generated by our model.
Reach, Drop, and Comfort on Long Rides
Reach and drop are the two numbers that define your relationship with the handlebar. Every hour you spend in the saddle, they dictate how your weight is distributed, how much your lower back, neck, and shoulders load up, and whether you can actually sustain a position when fatigue sets in. Understanding them is not optional if you ride long.
What Reach and Drop Actually Mean
These terms get used loosely, so let's be precise.
Reach is the horizontal distance from the bottom bracket to the center of the handlebar clamp, measured in a straight line parallel to the ground. It tells you how far forward you are stretching.
Drop is the vertical distance from the top of the saddle to the center of the handlebar clamp. A larger drop means the bar is lower relative to the saddle. A smaller drop — or a bar that sits at or above saddle height — is a more upright position.
Both measurements interact. You can have a long reach with minimal drop (aggressive but relatively upright), or a short reach with significant drop (compact but low). The combination shapes the angle at your hips, the load on your arms, and the curve of your spine.
See the bike fit fundamentals hub for how reach and drop fit into the broader picture of saddle height, cleat position, and pelvic tilt.
Why These Numbers Matter More on Long Rides
On a one-hour ride, your body can compensate for a poor position through muscle tension and postural adjustment. Over three, four, or six hours, that compensation accumulates. Muscles fatigue, posture collapses, and what felt manageable at the start becomes a source of real pain.
The specific problems that emerge:
- Too much reach: Overloads the shoulders, neck, and triceps. Encourages locking the elbows, which transfers road vibration directly to the spine. Often causes lower back pain as the pelvis rotates to compensate.
- Too little reach: Forces the elbows into a cramped angle, creates knee-to-elbow contact when climbing out of the saddle, and produces a hunched upper back that compresses breathing.
- Too much drop: Demands hamstring and lower back flexibility that most riders do not have for extended periods. Causes the pelvis to posteriorly tilt, flattening the lumbar curve and loading the lumbar discs.
- Too little drop (bar too high): Can reduce aerodynamic efficiency and, counterintuitively, sometimes shifts too much weight onto the sit bones rather than distributing it through the arms, leading to saddle discomfort on long efforts.
Finding Your Sustainable Reach
A sustainable reach allows a slight bend in the elbows — roughly 20 to 30 degrees — when your hands are on the hoods. Locked elbows mean the reach is too long or the bar is too low. Severely bent elbows signal the bar is too close or the stem too short.
Practical checkpoints:
- Sit on the hoods with your hands relaxed. Your elbows should not be fully extended.
- Look down at the front hub. For most riders, the handlebar should obscure the hub from this position. If the hub is visible in front of the bar, you may be too upright; if it is well behind the bar, you may be stretched too far.
- On a long climb in a comfortable tempo effort, your hands should naturally want to stay on the hoods or tops, not constantly migrate to the bar ends to shorten the effective reach.
Reach is adjusted primarily through stem length and stem angle. A longer stem increases reach; a shorter stem reduces it. A stem with a higher rise angle reduces effective reach slightly while also raising the bar. Handlebar reach — the distance from the clamp to the brake hood position — also plays a role and varies meaningfully between bar models.
See /glossary/stem-length for how to interpret stack and reach on frame geometry charts.
Finding Your Sustainable Drop
Drop tolerance is largely a function of hip flexor flexibility and hamstring length. Riders with limited flexibility in these areas will rotate their pelvis backward as drop increases, losing the natural lumbar curve and creating a C-shaped spine under load.
A useful self-test: sit on your bike on a trainer and hold a comfortable position for 30 minutes at a moderate effort. After the ride, note where discomfort appeared first. Lower back pain and neck strain that builds through the session usually points to excessive drop for your current flexibility. Saddle pressure concentrated at the back of the sit bones is a sign the pelvis has tilted backward — often caused by too much drop relative to your hamstring length.
General guidance by riding style:
| Rider type | Typical drop range |
|---|---|
| Endurance / gran fondo | Minimal to moderate — bar at or within a few centimeters of saddle height |
| Club racer / sportive | Moderate — bar 3–6 cm below saddle |
| Road racer (trained flexibility) | Aggressive — bar 7–12 cm or more below saddle |
These are not prescriptive targets. They are starting points. Flexibility, core strength, and riding history all move the individual number.
Drop is adjusted through spacer height below the stem, stem angle, and sometimes bar height within the stem clamp if the bar has a ramp. Raising spacers reduces drop. A negative-rise stem increases drop; a positive-rise stem reduces it.
The Interaction Between Reach and Drop
Do not adjust one without reconsidering the other. Raising the bar reduces drop but also shortens effective reach slightly, because the bar moves toward you as it rises on the steerer. Lowering the bar increases drop and lengthens effective reach. When you make a significant change to one, ride a few sessions before judging the result, and then reassess the other.
A common mistake: riders who feel stretched out shorten the stem aggressively, which solves the reach issue but leaves drop unchanged. They end up with a short stem on a slammed bar — a combination that often produces handling instability and a cramped cockpit.
Adjustments to Make Gradually
Big position changes made at once are hard to evaluate and risky. The body adapts to a position over weeks. A practical approach:
- Identify the primary complaint — reach or drop — and address that first.
- Make one change at a time. Add or remove one spacer, or swap to a stem with a different length, not both simultaneously.
- Test the new position over at least three rides of meaningful duration before judging.
- Re-evaluate the secondary dimension after the first change has settled.
If you are unsure where to start, a professional bike fit gives you a baseline measurement session that removes the guesswork. The fitter's measurements become your reference point for any future changes.
When Flexibility Is the Limiting Factor
Sometimes reach and drop are set correctly for your current flexibility, but that flexibility is the actual limiting factor for long-ride comfort. Off-bike work — hip flexor stretching, hamstring lengthening, and thoracic spine mobility — can meaningfully expand the range of positions you can sustain.
Riders who commit to consistent mobility work often find they can tolerate progressively more drop over a season without discomfort, which opens up more aerodynamic positions without sacrificing endurance. This is not a quick fix. It takes months of consistent effort, but it changes what positions are available to you.
A Note on Bar Shape
Drop bar shape affects how comfortable a given reach and drop actually feel in use. Compact bars with shallower drop and shorter reach between the clamp and the drops keep all hand positions accessible for riders with smaller hands or less flexibility. Bars with a more traditional shape and deeper drop create a greater positional difference between hoods and drops.
If you ride the drops rarely, a shallower bar reduces the positional penalty of never using that position. If you spend significant time in the drops on descents or hard efforts, bar drop becomes a critical dimension alongside frame-level reach and drop numbers.
See /glossary/handlebar-drop for a breakdown of how bar dimensions interact with overall fit.