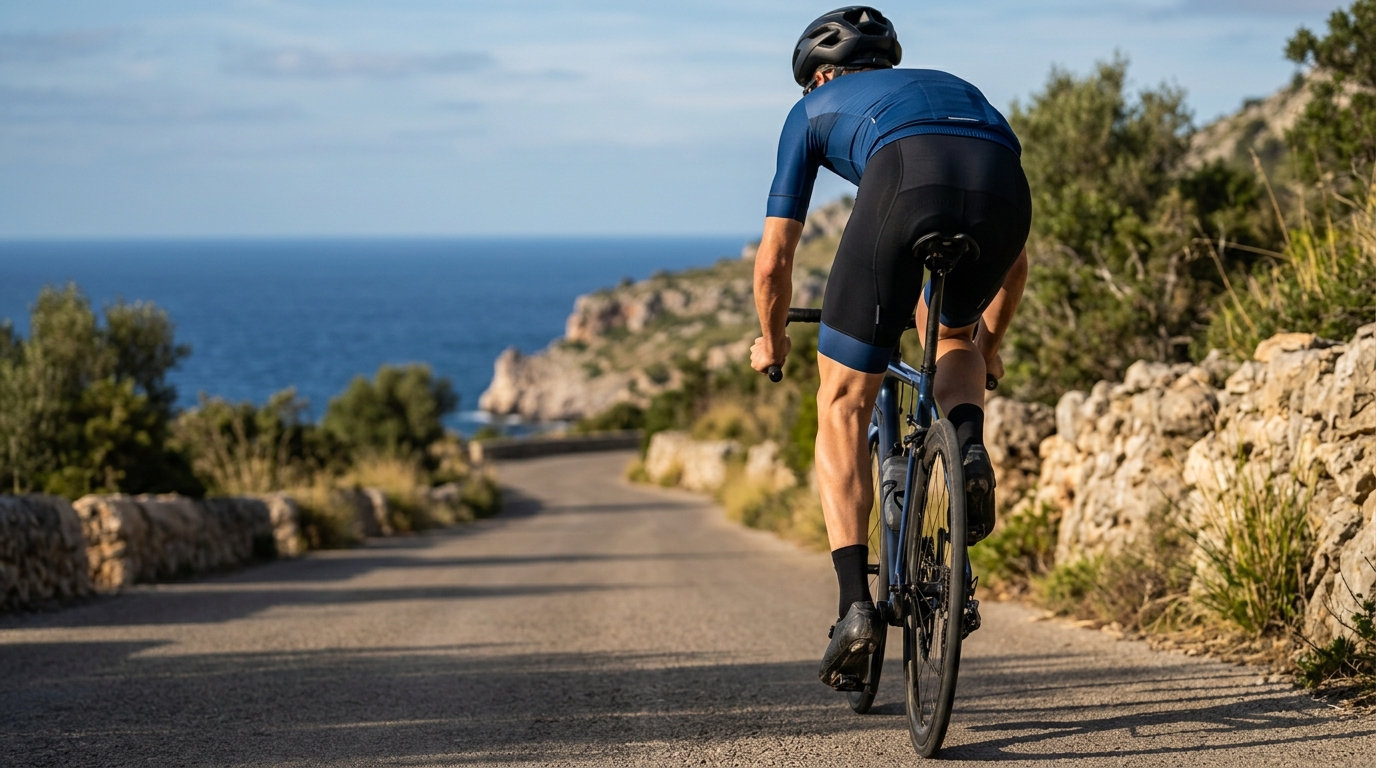
Image generated by our model.
Cleat Position and Knee Tracking: A Practical Guide
Cleat position is the foundation of how force travels from your body into the pedal. Every watt you produce passes through that small interface, and every millimeter of misalignment compounds across thousands of pedal strokes. Knee pain — patellofemoral syndrome, IT band irritation, patellar tendinopathy — is frequently traced back to a cleat that was never properly dialed in.
This chapter covers the three axes of cleat adjustment, how each one influences knee tracking, and how to find a position that supports both performance and joint health.
The Three Axes of Cleat Adjustment
Most clipless pedal systems allow adjustment across three dimensions. Understanding each one separately makes the fitting process systematic rather than guesswork.
Fore-Aft Position
Fore-aft placement determines where on the foot the pedal axle sits relative to the ball of the foot. The traditional starting point is to align the pedal axle directly under the first metatarsal head — the bony prominence at the base of the big toe.
This position does several things:
- It places the largest muscles (glutes, quads, hamstrings) in an efficient mechanical relationship with the crank
- It reduces the lever arm between the ankle and the pedal contact point, limiting how hard the calf must work to stabilize the ankle under load
- It puts the most stable part of the foot over the axle
Moving the cleat further back (rearward on the shoe, axle moves forward toward the toes) effectively shortens the lever arm at the ankle. Some riders with calf tightness, Achilles issues, or a history of knee pain respond well to a slightly rearward position. It reduces the demand on the soleus and gastrocnemius to control heel drop during the pedal stroke.
Moving the cleat too far forward shifts the axle behind the metatarsal heads, increasing ankle instability and forcing the knee to compensate. This shows up as the knee drifting medially or laterally as the ankle searches for a stable platform.
Key check: Sit on the bike in your normal position. At the three o'clock position in the pedal stroke, the kneecap should be directly above or very slightly behind the pedal axle — not forward of it. If the knee is significantly ahead of the axle, the cleat may be too far forward, or the saddle is too low. See the bike fit fundamentals hub for how saddle height interacts with this.
Lateral (Side-to-Side) Position
Lateral placement sets how far inboard or outboard the cleat sits across the width of the shoe sole. This directly controls where your foot sits relative to the crank, which in turn affects the angle and tracking path of the knee.
Most riders benefit from positioning the cleat so the foot is as close as possible to the crank arm without the heel striking it. This narrows the effective Q-factor — the distance between the pedaling surfaces — which tends to improve knee tracking for riders with average hip width and femur angle.
Riders with wider hips, a pronounced valgus femur angle, or knock-kneed posture often need the foot positioned further outboard. When the foot is too far inboard relative to where the knee naturally tracks, the knee must deflect medially to complete each stroke. That valgus collapse under load is a primary driver of patellofemoral pain and IT band stress.
Conversely, a foot set too far outboard pulls the knee laterally, which can overload the lateral retinaculum and the IT band insertion at the knee.
Practical approach: Watch knee tracking from directly in front of the bike. The kneecap should travel in a straight line over the second toe throughout the pedal stroke. Any inward or outward deviation at the knee during the power phase is a signal to adjust lateral cleat position before changing anything else.
Rotational Position (Float and Cleat Angle)
Rotational alignment is where cleat setup gets most personal. The cleat angle determines the direction the foot points — toe in, neutral, or toe out. This needs to match the rider's natural foot angle, not force the foot into an arbitrary position.
Most modern pedal systems offer some degree of float — rotational freedom within the cleat before the pedal releases. Float allows the foot to find its natural angle dynamically during the pedal stroke rather than being locked to whatever the static cleat angle is.
Common float options:
- Fixed (0°): No rotational movement. Only appropriate for riders with a very consistent, already-confirmed natural foot angle.
- Low float (2–4°): Limits movement but allows minor adjustment. Suits riders who are confident in their foot angle.
- Standard float (6–9°): The default starting point for most riders. Enough freedom to accommodate foot angle variation across fatigue and different cadences.
The critical concept is that float does not mask a bad static cleat angle. If the cleat is rotated significantly away from where the foot naturally wants to point, the rider will use all of the float pulling against the cleat tension rather than using it symmetrically around their neutral position. The result is constant torsional load on the knee — not acute, but cumulative.
Finding neutral foot angle: Stand with feet hip-width apart in a relaxed stance. Look down. The angle your feet point at naturally — neither artificially squared nor deliberately splayed — is your neutral angle. Set the cleat to match it, then let float manage the small deviations that occur during riding.
How Cleat Errors Show Up in Knee Tracking
Knee tracking problems rarely announce themselves cleanly. They appear as a pattern of symptoms and visible deviations that, once you know what to look for, point back to a specific cleat axis.
| Problem | Likely Cleat Cause |
|---|---|
| Knee dives inward on power phase | Foot too far inboard (lateral), or toe-out cleat angle pulling knee medially |
| Knee drifts outward | Foot too far outboard, or toe-in angle |
| Anterior knee pain, especially on long rides | Cleat too far forward or saddle too low — increased knee flexion angle under load |
| Medial knee pain | Valgus tracking from inboard foot position or excessive toe-out angle |
| IT band pain | Lateral tracking from outboard foot position or excessive toe-in angle |
| Calf fatigue and Achilles tightness | Cleat too far forward, increasing ankle lever arm |
Note that these are starting points for diagnosis, not guarantees. Saddle height, saddle fore-aft, and hip mobility interact with all of them. Use the bike fit fundamentals hub as the broader framework.
Setting Up: A Systematic Process
Rush the setup and you will iterate endlessly. Work through this order and each adjustment informs the next.
- Set fore-aft first. Align the pedal axle under the first metatarsal head. Confirm knee position over the axle at the three o'clock point before moving on.
- Set lateral position. Get the foot close to the crank arm without heel interference. Observe knee tracking from the front on a trainer at moderate effort before locking anything down.
- Set rotational angle. Match the static cleat angle to your natural foot angle. Choose a float level that gives you symmetric freedom around that neutral point.
- Ride, observe, iterate. New cleat positions need time to reveal their effects. Give a change at least two or three rides before judging it, unless there is immediate pain.
- Replicate on both shoes. Asymmetry in cleat position between left and right is common and frequently the root cause of one-sided knee pain. Measure and confirm both sides match your intention.
When to Seek a Fit Professional
Self-fitting cleats works well for riders without structural asymmetries, leg length discrepancies, or previous injury. If you have a history of knee surgery, significant leg length difference, hyperpronation, or persistent unilateral pain that does not resolve after systematic cleat adjustment, a professional fitting with video analysis is worth the investment. A fitter can observe tracking in real time under load — something static measurements cannot fully capture.
For a broader view of how cleat position fits into the full fitting process, start at the bike fit fundamentals hub.